


Easter Sale - 5% OFF orders £50+ -

Verified
Verified
Verified
Verified
Verified
Verified
Verified
Verified
Verified
Verified
Verified
Verified
Verified
Verified
Verified
Verified
Verified
Verified
Verified
Verified
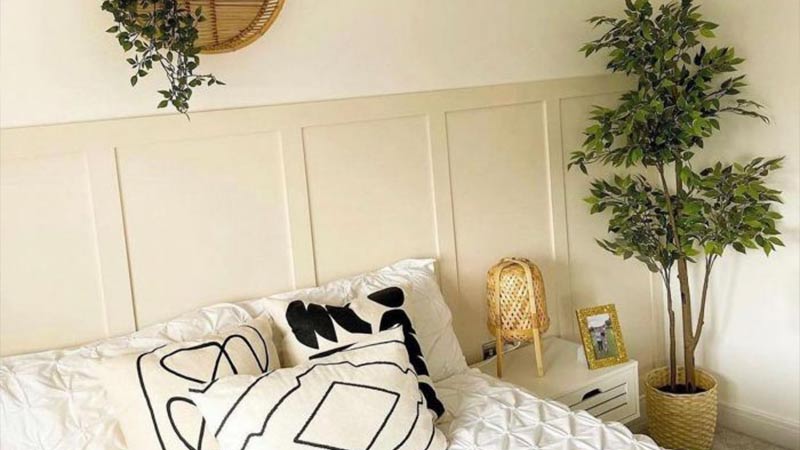

A made to measure solution that was quick to be delivered and very easy to install. I have already recommended to a friend.
Precision Cut: We cut your custom height shaker panelling to your measurements, ensuring a perfect fit every time.
High-Quality Materials: Crafted from sustainable MDF using the latest CNC technology.
Visualisation Tools: Use our visualiser to design your panelling with various rows, columns, and batten widths.
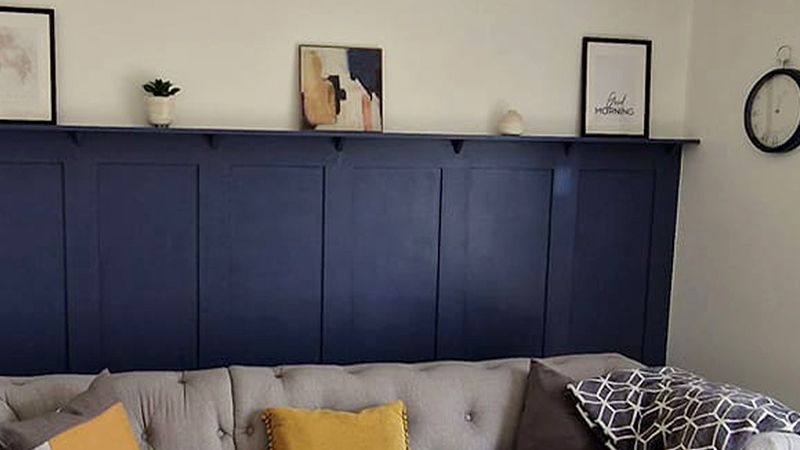

Custom height shaker wall panelling is perfect for:
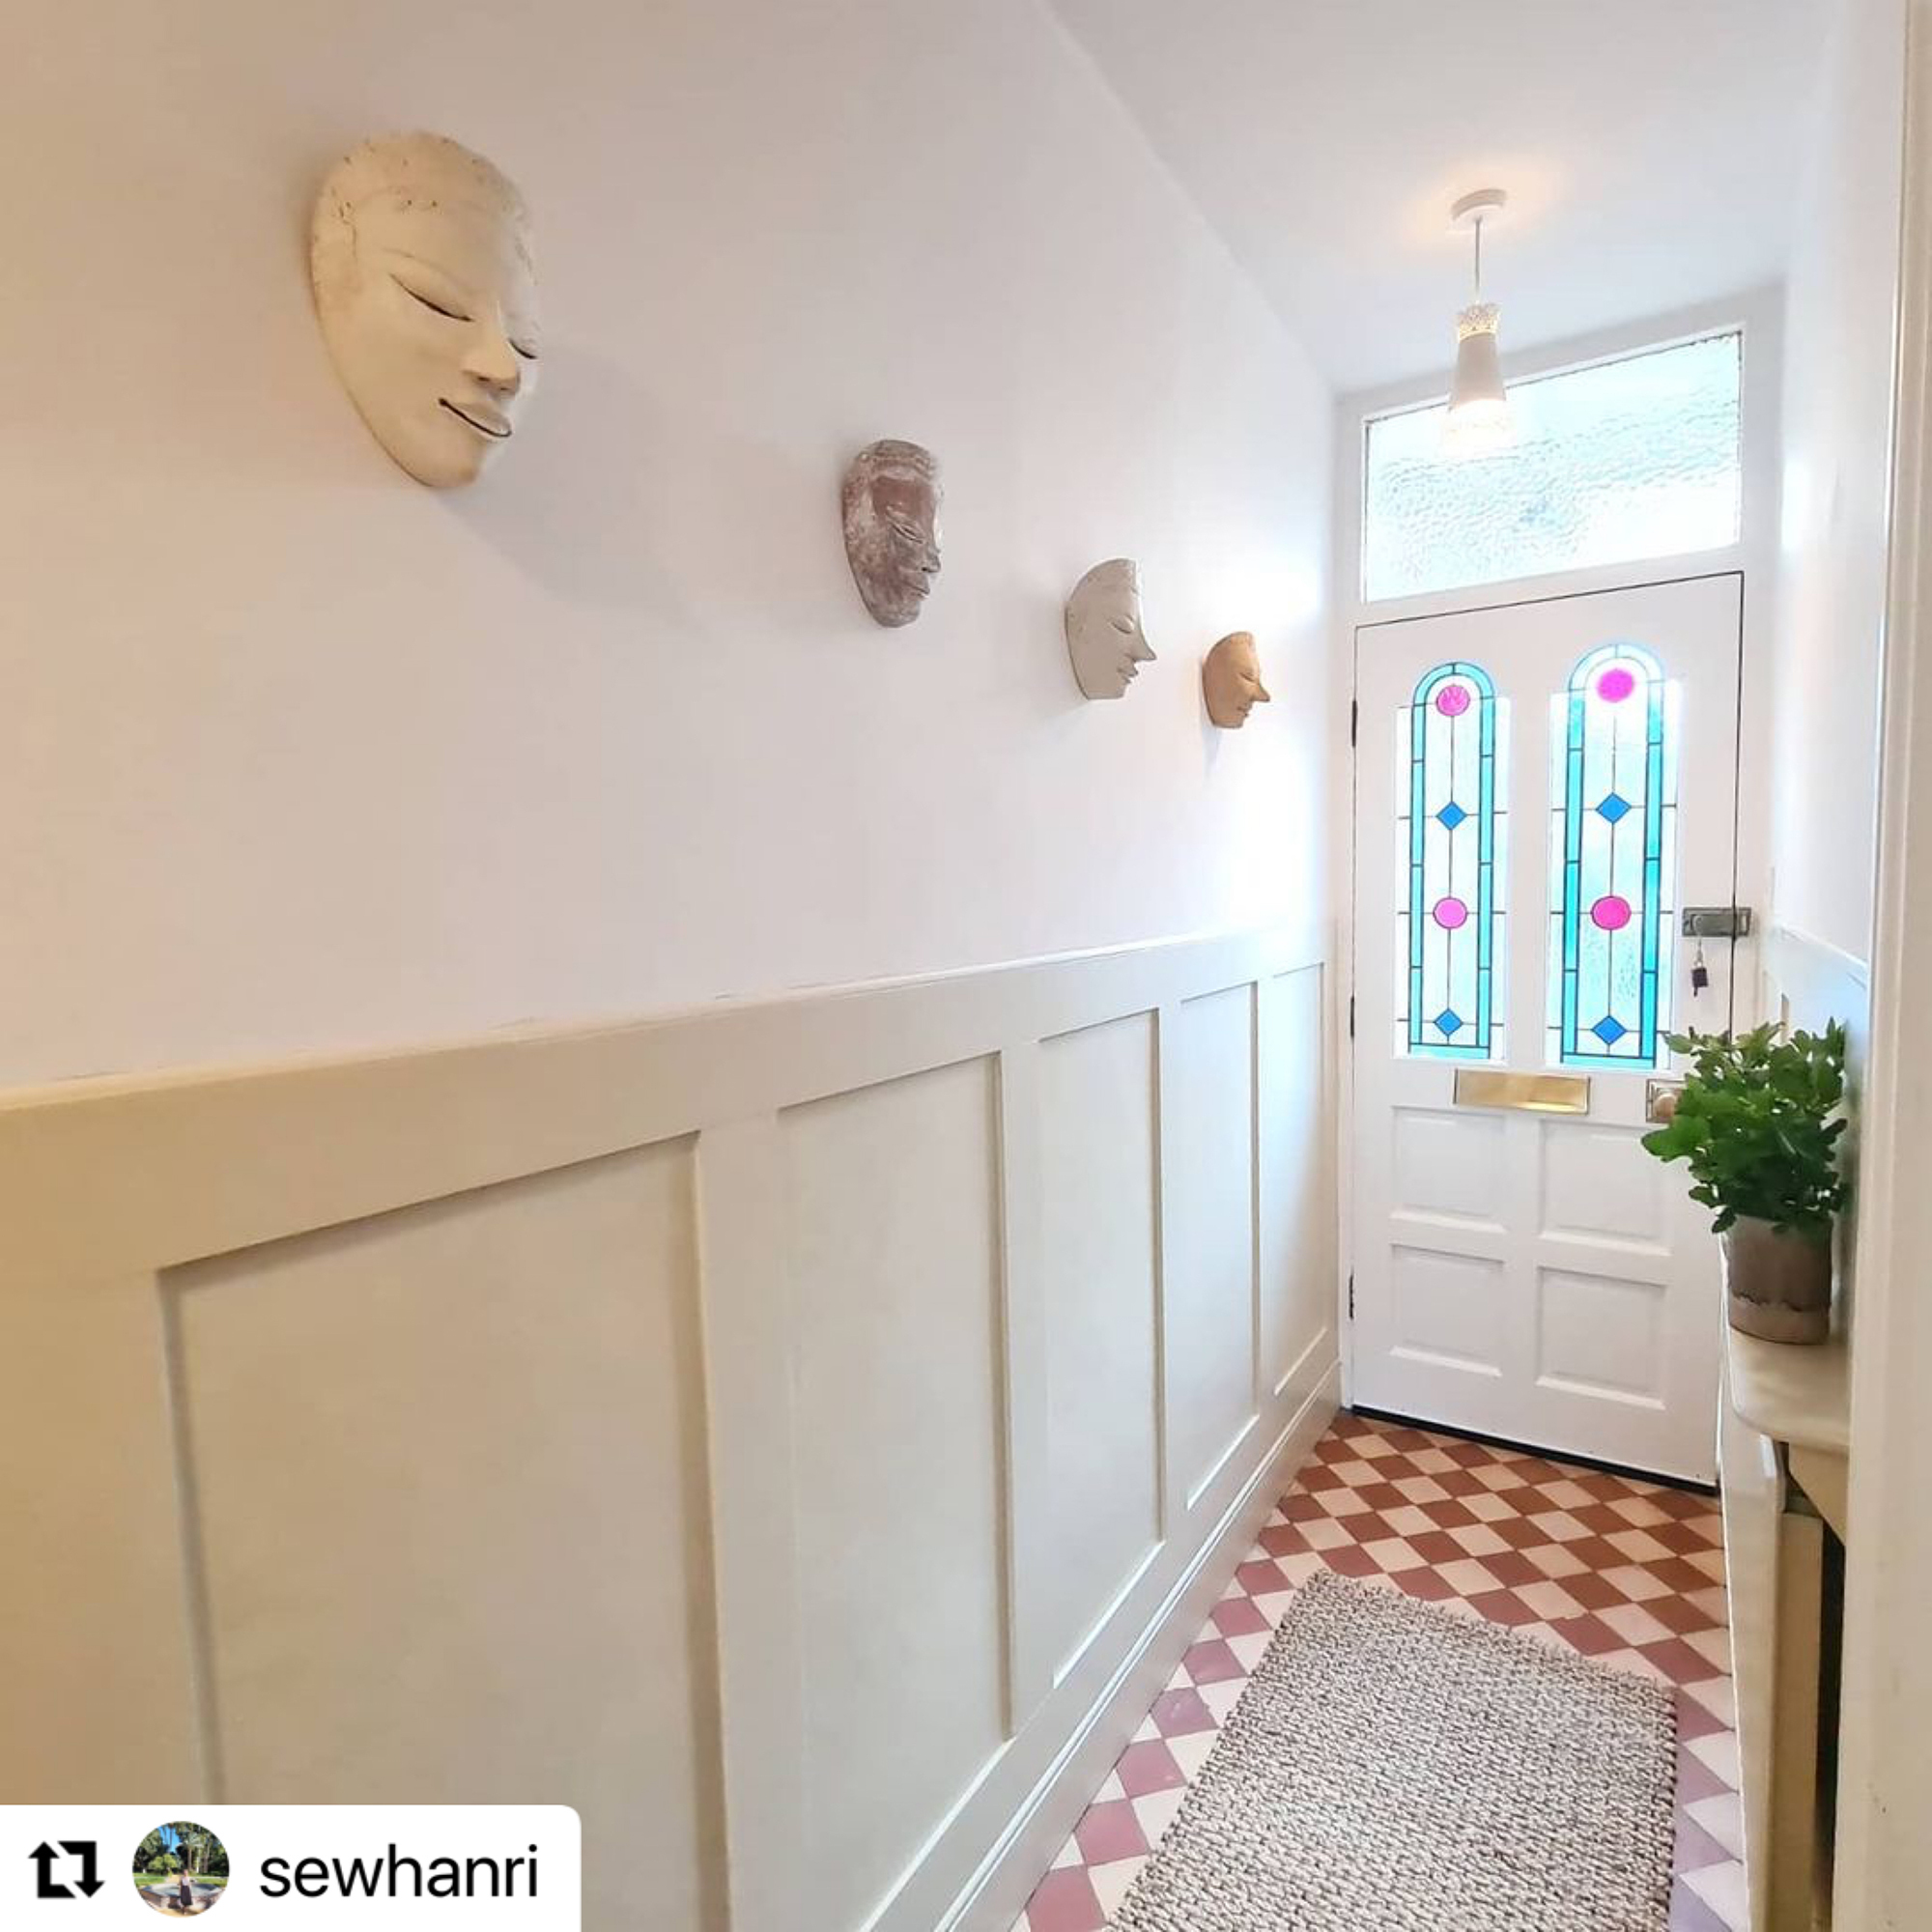

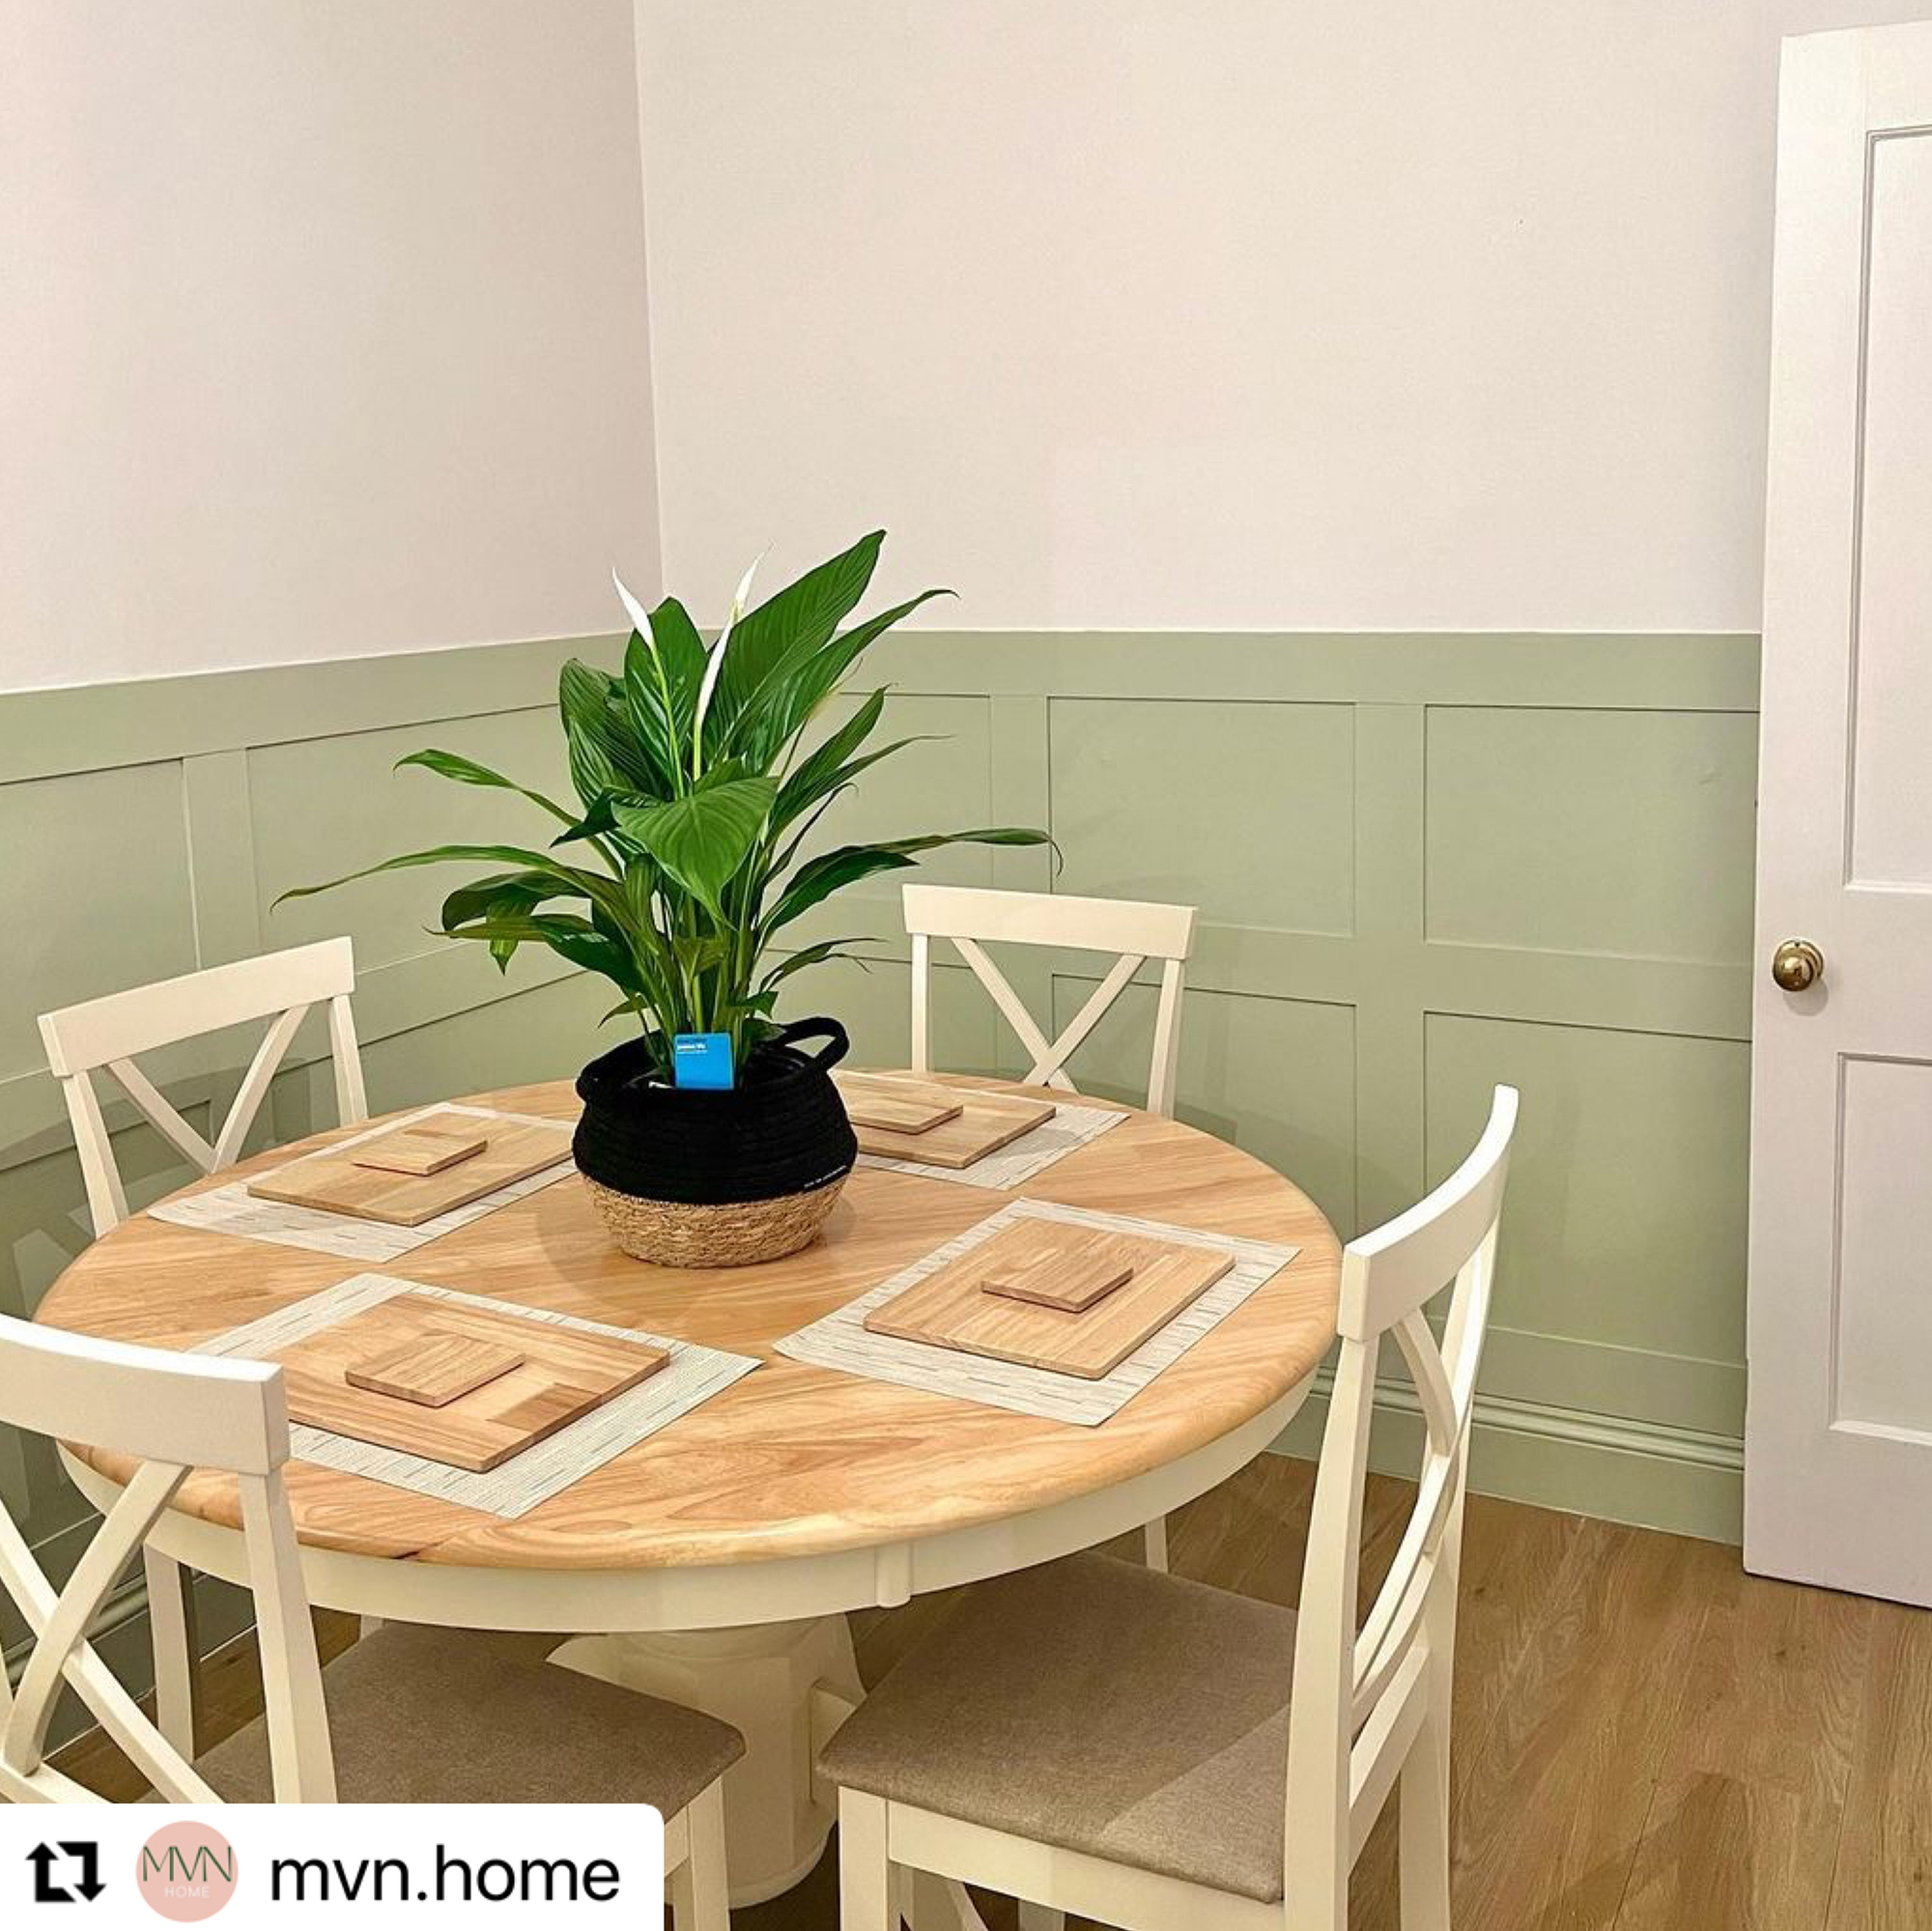

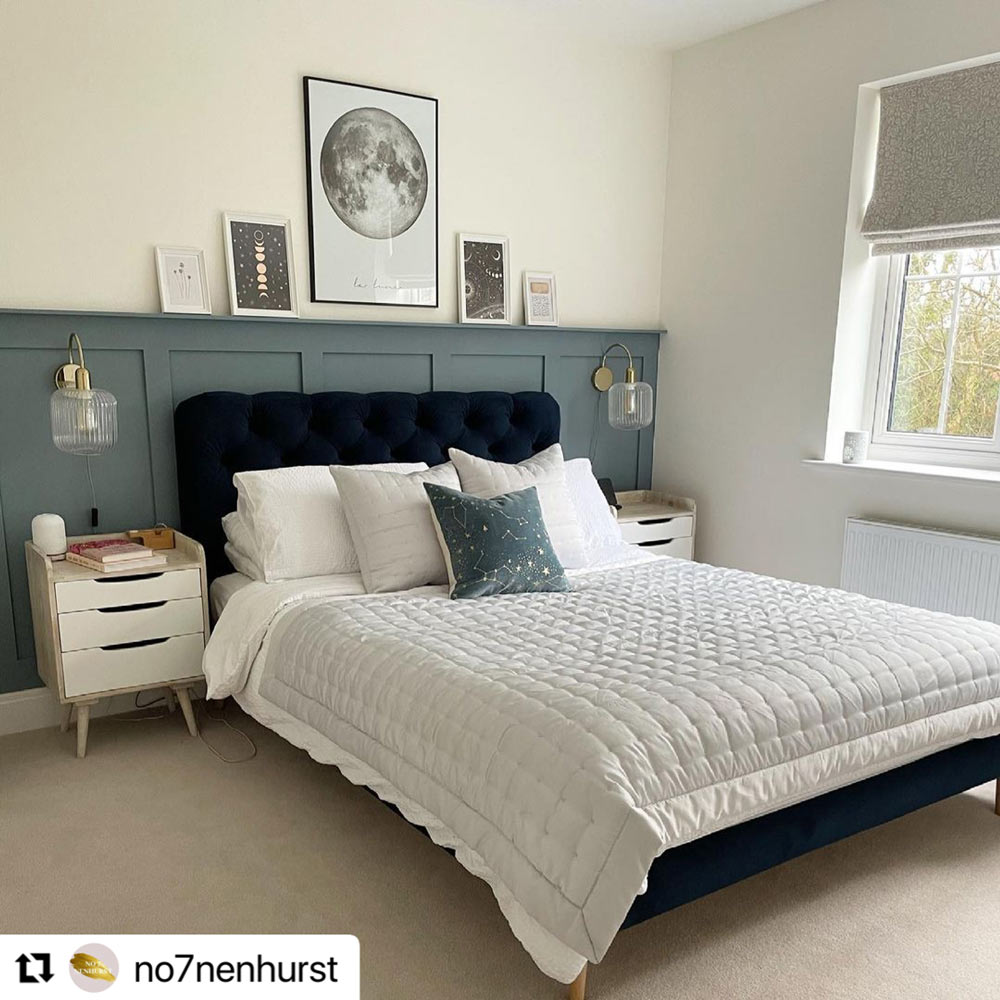

Share your Wall Panelling with us to feature on our website. Simply mention @cutmy.uk on Instagram or upload a photo and tag us!
Important Information
Please note: Our maximum panel length is 1500mm for transport and storage reasons. If your wall is longer than this and therefore you enter dimensions larger than 1500mm, we will provide you with multiple pieces to make up the total length required. We will make sure that the panels are cut to equal sizes so that they can be joined in the middle.


Our shaker panelling is crafted using Medite MDF. Medite MDF is highly sustainable, as it is sourced from FSC-certified forests. This certification ensures responsible forest management, preserving biodiversity and respecting community rights.
The production process also uses wood fibres efficiently, reducing waste and environmental impact, making Medite MDF an eco-friendly choice.
Enhance your panelling with our customisable MDF shelf, perfect for displaying decorative items and photos.
Please note, the picture shelf is intended for light-weight decorative items only.
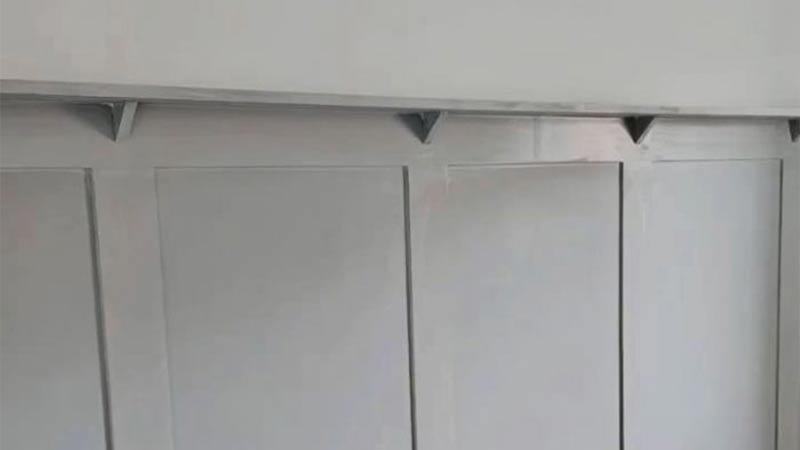

After ordering your wood wall panelling comes the important part. Installation. Don't worry - we include a wall panelling manual within your kit which can help you with installation.
Below is also a step-by-step guide to assist you to install your new and outstanding wall panelling.
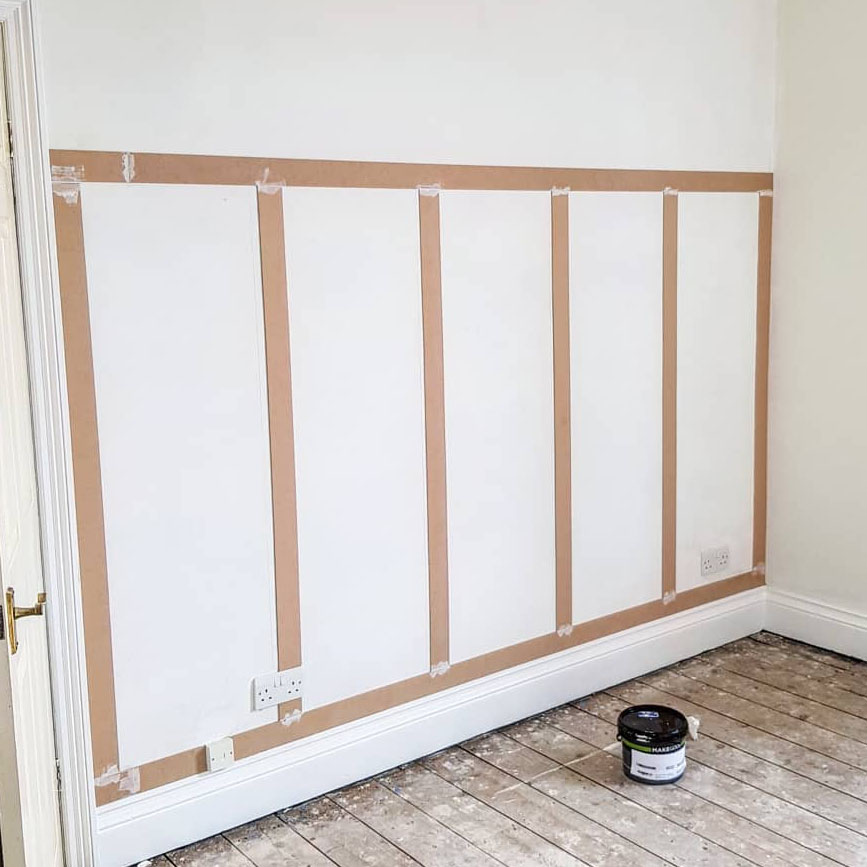
The technical view of our visualiser (at the top of this page) will show you which measurements you need between each batten based on your input. Make sure to note down these measurements when ordering the kit so that you know how far apart you should be marking the measurements when it comes to installing it.
Our Wall Panelling Kit includes a physical Installation Manual which provides more detail and recommendations on which order to install the panels in.
Lay out the MDF wall panels on the floor and group them based on size.
Using a pencil mark where the MDF wall panels need to be positioned on the wall. You can use the measurements provided in the 'Technical View' of our visualiser for spacing.
Apply a thin layer of adhesive on your MDF wall panels and stick to the walls where you have previously marked them.
Use a spirit level to make sure the MDF wall panel pieces are aligned correctly and fix when level. Wait to dry.
If you've added a picture shelf to your order it's time to install it. Detailed instructions are provided with your kit.
Once dry, use wall filler to fill any gaps between the strips. If you've measured well, the gaps should be small.
Caulk around all edges of the MDF wall panels making sure to smooth evenly with a clean slightly wet finger or application tool. Once this is done, wait until dry.
Prep the panelling for painting by sanding the joins which you've filled with filler. This helps the paint adhere and makes the join seamless and flat.
Apply the wood primer evenly and wait to dry. You can skip this step if you chose for us to apply the priming for you.
Paint the panels and walls with your chosen colour. We're loving deep greens at the moment, like Farrow & Ball's Green Smoke as shown in the visualiser.
| Material | Wood - MDF |
| Finish | Standard (Unfinished) |
| Available Thicknesses | 6mm, 9mm, 12mm |
| Fire Rating | Euroclass D |
| Moisture Content | 5-9% |
| Manufacturers Tolerances | +/- 10% plus 0.4mm (e.g. 5mm cast sheet could vary from 4.1mm to 5.9mm) |
| Cutting Tolerances | +/- 1mm |
For the full technical details, download the manufacturer's datasheet here:
MDF wall panelling is an inexpensive option in comparison to using solid wood, or plywood. The cost of the wall panelling will vary depending on the size of the wall, though is a cheaper alternative to other ways of decorating a wall.
According to current trends, wall panelling is very popular and is continuing to rise. Today many homeowners opt for MDF wall Panelling as a great way to add a feature to a wall or to decorate it with texture and depth. Wall panelling can also be repainted to follow the current colour trends.
Our wall panelling is made from MDF. This is a medium-density fibreboard and is an engineered wood-based sheet made by bonding together wood fibres with a synthetic resin adhesive and pressure.
All you need to do is simply measure out the area that you would like to panel with a tape measure and input your measurements into our site along with your column/row preferences. Our site will work out the rest for you!
Our wall panelling kits contain made-to-measure MDF Battens to create the shaker effect on your walls as well as a short instructional leaflet for installing them. We can supply the additional materials you will need for installation like adhesive, dust sheets, primer and filler. These can be added to your cart in the kit configuration tool on the Wall Panelling page, or found on the accessories page. Backing boards for unfinished walls are not included.
Wall panelling can easily be installed using adhesive, or screws. We would also recommend making sure you use a spirit level when installing to make sure that the pieces are flat. In addition, we have an installation guide for our MDF Wall Panelling.
Our Moisture Resistant MDF comes unprimed, but you can select for us to prime the wood for you. This will save you the time and effort of doing it yourself, so once your panelling arrives, it’s ready to paint!
Often chosen for its inexpensive cost to create furniture, MDF can be painted to add some character or personality to any piece. We have written a guide to assist you in painting your MDF.
Following current trends, we see the colours shift according to the season and trend. Though typically people opt for painting MDF a darker shade, either green or blue, to manipulate any natural lighting and create interesting depth with shadows.
Picture shelves are thin strips of MDF that can be attached to the top of your wall panelling to create a ledge for displaying photos, art or other items. You can add picture shelves to your wall panelling kit by selecting the option “Picture Shelf” and choosing the thickness of the shelf.
You can paint your picture shelves in the same way as you paint your wall panelling. You can use any type of paint that is suitable for MDF, such as acrylic, emulsion or gloss. If you select for your wall panelling kit to be primed before delivery, then we will prime your picture shelf too.
The weight a picture shelf can hold will depend on its length and depth. You should avoid placing heavy or fragile items on your picture shelves, as they may fall or damage your wall panelling.
Picture shelves can add style and functionality to your wall panelling kit. They can create a focal point for your room, showcase your personality and interests, and make use of vertical space. They can also protect your wall from marks and scratches caused by hanging frames or nails.
Delivery depends on the size of your order
Trustpilot