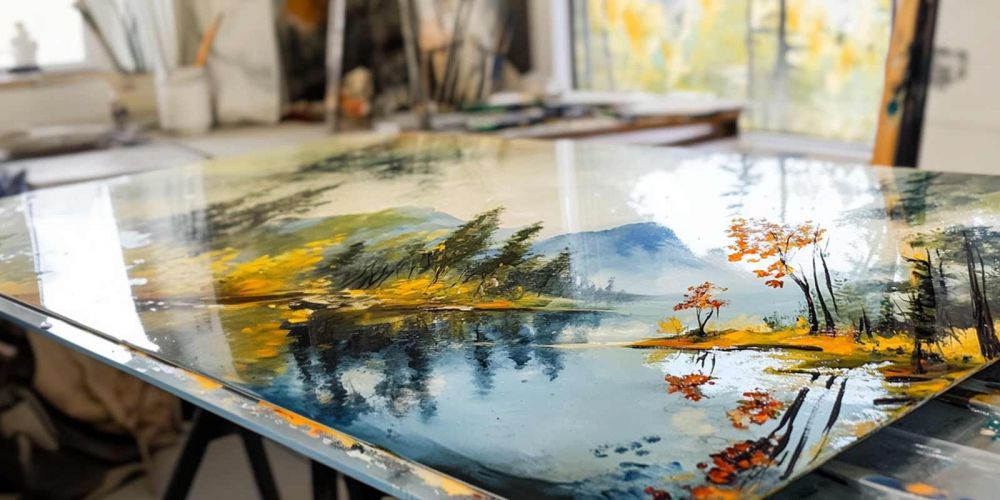
Painting on acrylic sheets is a versatile and rewarding DIY project, perfect for creating unique décor, personalised gifts, or even outdoor art. Acrylic sheets, often called plexiglass sheets, offer a durable and transparent canvas, making them ideal for a variety of creative applications.
This guide will take you through the process of painting acrylic sheet, covering everything from selecting the right materials to mastering painting techniques.
What is an Acrylic Sheet?
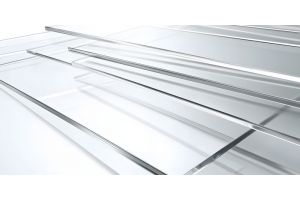
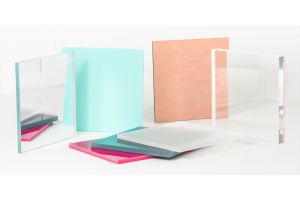
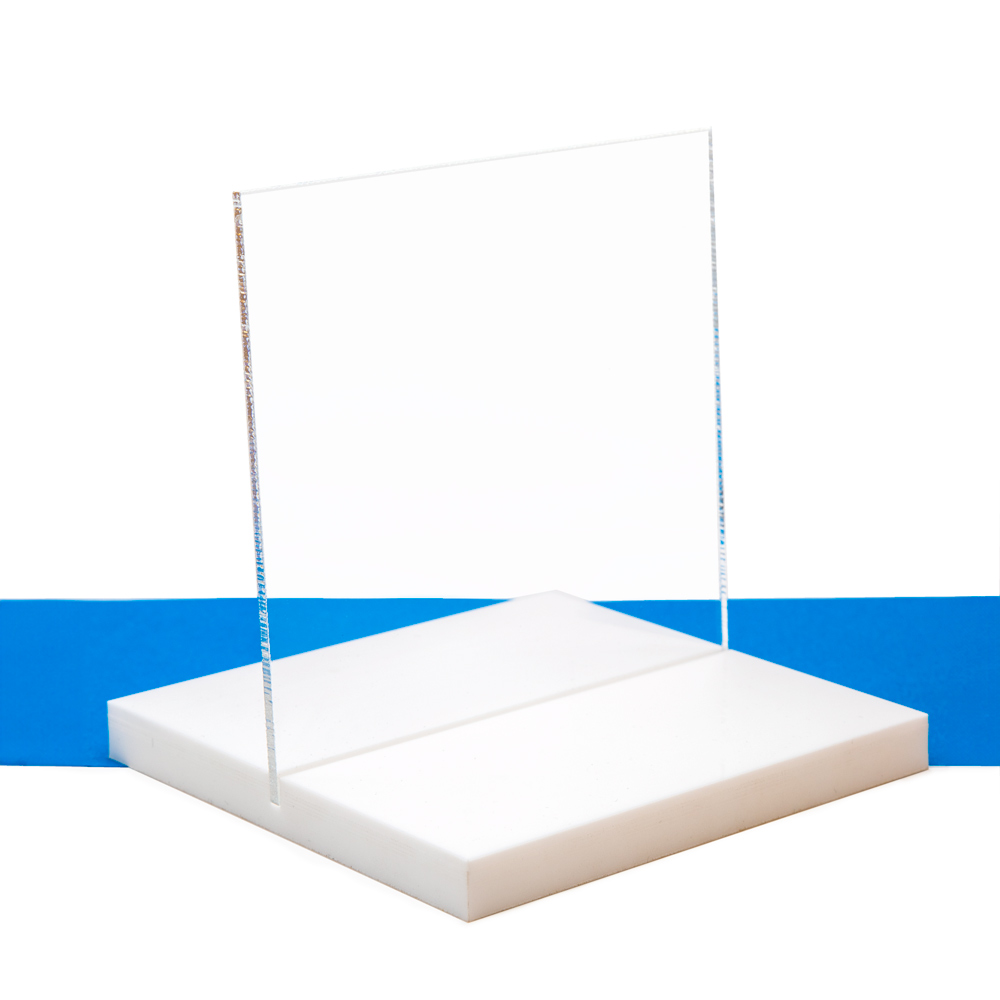
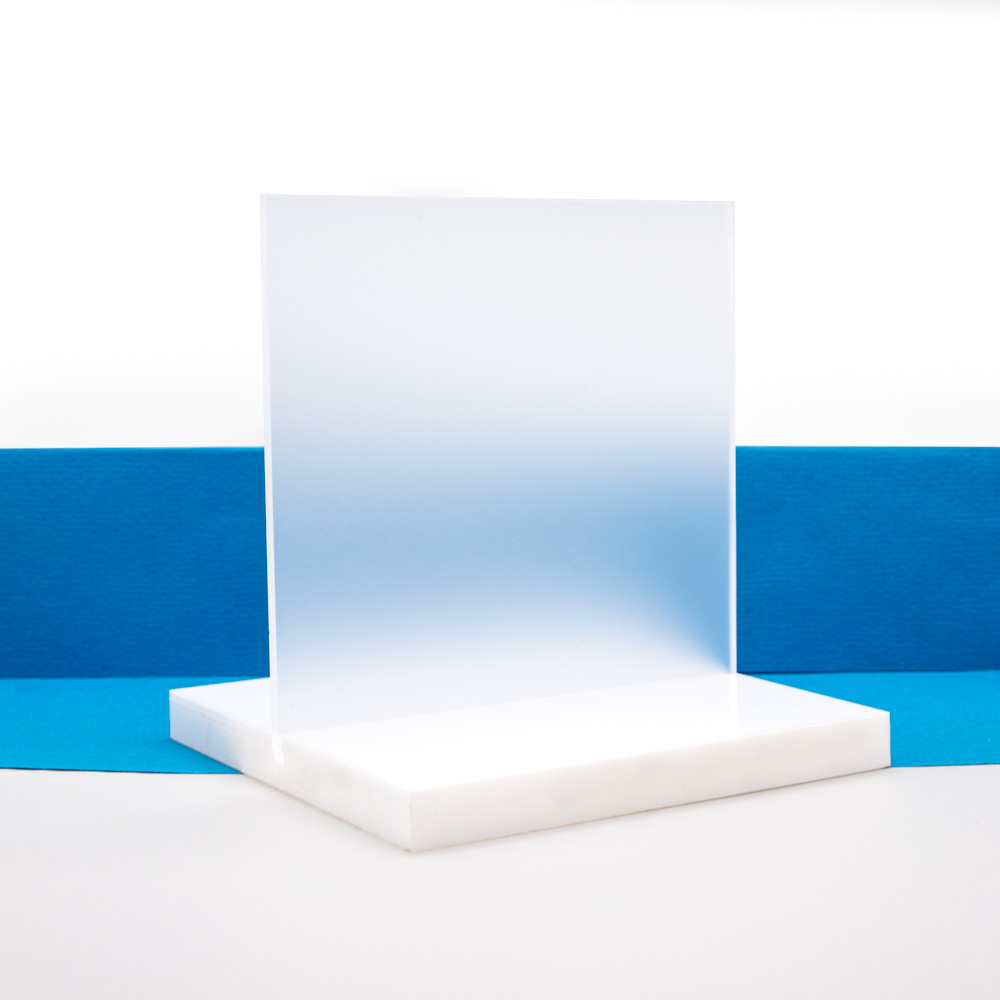
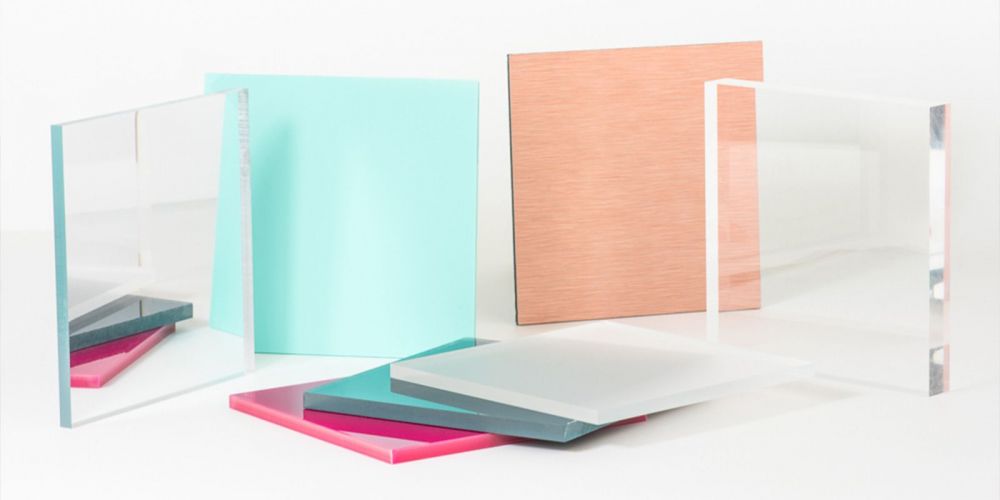
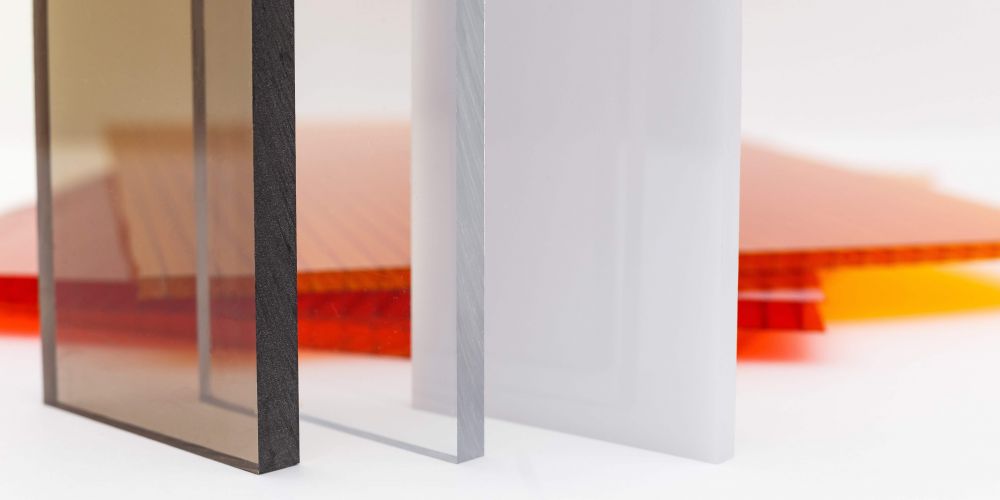
An acrylic sheet, commonly known as plexiglass, is a type of plastic that’s lightweight, shatter-resistant, and easy to work with. Unlike glass, acrylic sheets are less prone to breaking and come in a variety of finishes, such as clear, frosted, or coloured. These properties make acrylic sheets an excellent choice for projects that require a durable and visually appealing material.
Choosing the Right Acrylic Sheet
When painting on acrylic sheet, selecting the right sheet is crucial. Consider the thickness and size based on your project needs. Typically, a thickness of 3mm to 5mm is ideal for most DIY projects. Acrylic sheets also come in various surface finishes, including glossy and matte. A glossy finish is great for vibrant colours, while a matte finish offers a subtler look.
Essential Tools and Materials
To paint acrylic sheet effectively, you’ll need the right tools and materials:
- Acrylic Paint: The best paint for acrylic sheets is acrylic paint because of its strong adhesion and vibrant colours.
- Spray Paint: Spray paints can be used for covering large areas quickly and achieving an even finish.
- Brushes and Masking Tape: Use brushes of varying sizes for detail work, and masking tape to create clean lines.
- Primer: A spray primer designed for plastic surfaces helps paint adhere better to the sheet.
- Soft Cloth and Soapy Water: These are essential for cleaning the sheet surface before painting.
Preparing the Acrylic Sheet
Proper preparation of your acrylic sheet ensures good adhesion of the paint and a professional-looking finish.
Cleaning:
Start by cleaning the sheet surface with soapy water and a soft cloth. This removes dust, dirt, and oils that can prevent the paint from sticking. Dry the surface with a lint-free cloth to avoid leaving any residue.
Sanding:
Lightly sand the surface of the acrylic sheet using fine-grit sandpaper. This creates a slightly rough surface, helping the paint adhere better. Be careful not to over-sand, as you only need to create a texture for the paint to stick.
Priming:
Apply a spray primer designed for plastics to the entire surface of the sheet. The primer provides a base for the paint, ensuring it doesn’t peel or crack over time. Hold the spray can at the recommended spraying distance and apply a thin, even layer. Let the primer dry completely before you start painting.
Painting Techniques
Once your acrylic sheet is prepped, it’s time to start painting. Here are some techniques to consider:
Direct Painting:
If you’re using acrylic paint, you can paint directly onto the surface of the acrylic sheet. Apply the paint in thin layers to avoid streaks and ensure smooth coverage. Start with an initial coat, let it dry completely, and then add subsequent layers. This technique is ideal for detailed work or when you want to build up colours gradually.
Spray Paint:
For larger areas or a solid colour, spray paint is an excellent option. It’s important to apply the spray paint at the proper distance to avoid drips and uneven coverage. Hold the spray can about 12 inches away from the surface and use sweeping motions to cover the sheet evenly. Allow each coat to dry before applying the next.
Reverse Painting:
If you’re using a clear acrylic sheet, reverse painting is a unique method where you paint on the back side of the sheet. This technique allows the colours to be viewed through the clear layer of the sheet, creating a smooth and glossy finish on the front. Start by painting the details first, then fill in the larger areas. This technique protects the paint and creates a professional-looking result.
Layering and Blending:
When using acrylic paints, layering different colours can create depth and dimension. Apply one layer of paint, let it dry, and then add additional layers or blend colours while the paint is still wet to achieve smooth transitions.
Sealing and Finishing
Once you’ve completed painting acrylic sheet, it’s important to seal your work to protect it.
Sealing the Paint:
Apply a clear coat or spray on sealer to protect your artwork from scratches and fading. This is particularly important if your project will be exposed to the elements or handled frequently. Spray on sealers are easy to apply and provide an even finish, but be sure to follow the manufacturer’s instructions for the best results.
Finishing Touches:
After sealing, consider adding final touches such as framing the sheet or mounting it on a backing material like wood. This not only enhances the visual appeal but also adds durability, making your piece ready for display.
Common Mistakes and How to Avoid Them
Here are some common mistakes when painting acrylic sheet and how to avoid them:
Avoiding Smudges:
Always let each paint layer dry completely before adding another. This prevents smudging and ensures that the layers adhere properly.
Preventing Cracks:
To avoid cracks in the paint, especially with spray paints, apply thin coats and allow each one to dry before adding the next. Rapid temperature changes can also cause the paint to crack, so keep your project in a stable environment.
Fixing Errors:
If you make a mistake, acrylic paint can often be removed with a soft cloth dampened with rubbing alcohol before it dries. For dried paint, gently sand the area to remove the error and repaint.
Creative Ideas for Acrylic Sheet Projects
Painting on acrylic sheet opens up a world of creative possibilities. Here are some ideas to inspire you:
Home Décor:
Create custom wall art, decorative panels, or even personalised room dividers. The transparency and gloss of acrylic sheets can add a modern touch to any space.
Gifts:
Painted acrylic sheets make unique gifts, such as custom nameplates, photo frames, or decorative trays. Use reverse painting to add a professional, polished look.
Outdoor Projects:
Acrylic sheets are durable enough for outdoor use, so consider creating garden signs, decorative plaques, or even small outdoor furniture accents. Just ensure you use outdoor-rated paint and sealer to withstand the weather.
Safety Considerations
As with any DIY project, safety should be a priority when painting on acrylic sheet:
Ventilation:
Many paints and sealers emit fumes that can be harmful if inhaled, so it’s important to work in a well-ventilated area. If you’re using spray paint or primer, consider working outdoors or in a garage with the doors open. If working indoors, ensure that windows are open and fans are running to circulate fresh air.
Protective Gear:
Always wear protective gear, including gloves and a mask, especially when sanding or using spray products. Safety goggles are also recommended to protect your eyes from dust and paint splatters.
Disposal:
Proper disposal of paint materials and acrylic scraps is essential for environmental safety. Check with your local council for guidelines on disposing of hazardous materials. Do not pour leftover paint or solvents down the drain, as they can harm the environment.
Conclusion
Painting on acrylic sheet is a rewarding and versatile DIY project that offers endless possibilities for creativity. Whether you're a seasoned DIYer or just starting out, this guide has provided you with the knowledge and tips you need to create stunning acrylic art. Remember to choose the right materials, take your time with preparation, and enjoy the process of bringing your vision to life.
So, what are you waiting for? Grab your acrylic sheets and paint, and start creating your next masterpiece today. And don’t forget to share your projects with our DIY community - we’d love to see what you come up with!


