How to Paint Plywood for Stunning DIY Furniture and Projects
How to Paint Plywood for Stunning DIY Furniture and Projects
About author
James Bryant
Founder
James Bryant is the Founder of Cut My, an online retailer providing quality materials for home improvement and DIY projects. An avid DIY enthusiast himself, James started Cut My to share his passion for building and making things.
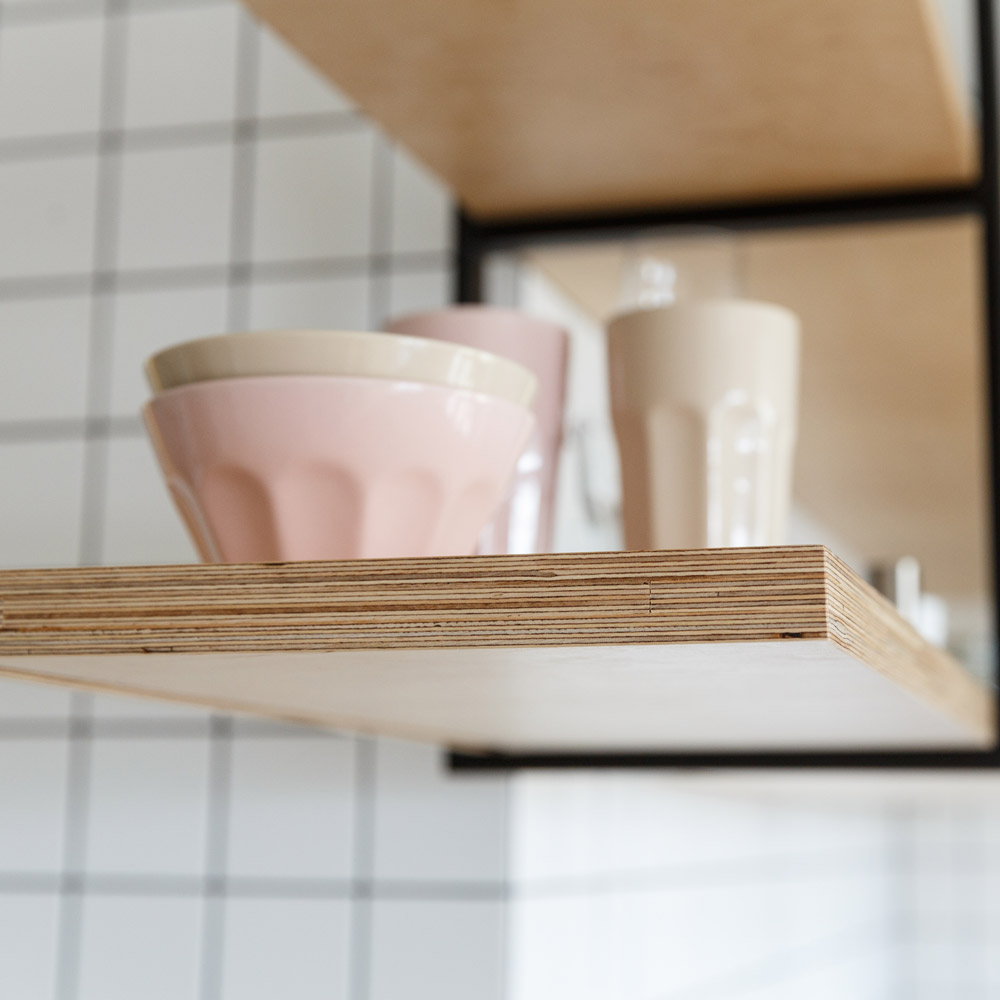
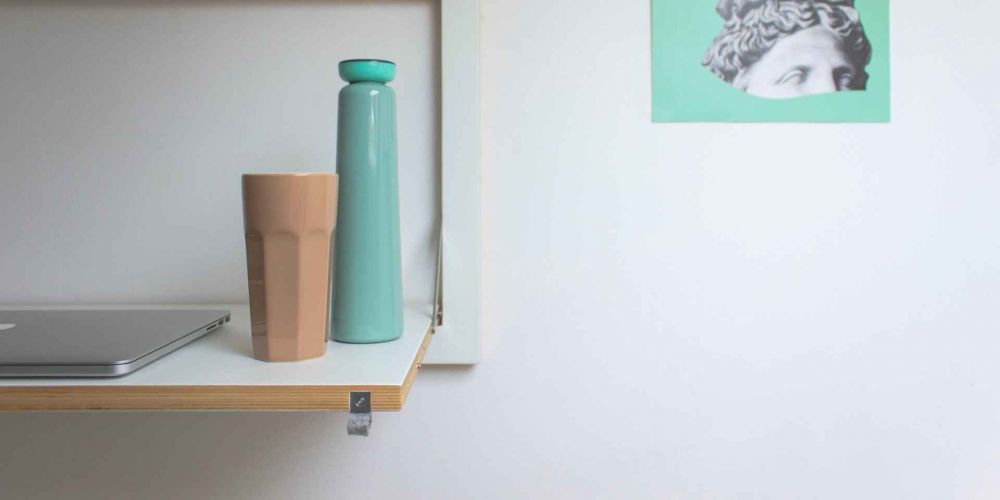
If you’re a DIY enthusiast, you’ve likely worked with plywood at some point. This affordable and versatile material is a popular choice for everything from shelving units to custom furniture. While plywood’s natural wood appearance can be aesthetically pleasing, painting it allows you to transform it into virtually any colour or finish you desire by covering the entire surface with paint.
The question “Can you paint plywood?” is a common one, and the answer is a resounding yes! Painting plywood is an excellent way to give new life to old pieces or create custom plywood furniture tailored to your style. With the right preparation and techniques, you can achieve professional-looking results that will make your DIY projects stand out. Ensuring a smooth surface before painting is crucial for a professional finish.
Materials Needed:
Before you begin, gather the following materials:
Plywood sheets or boards cut to size Sandpaper Wood filler Primer (oil-based or water-based) Paint suitable for wood surfaces Paintbrushes or rollers Painter’s tape Dust sheets
Preparing the Plywood Surface with Wood Filler
Proper surface preparation is crucial for achieving a smooth, long-lasting paint finish on plywood. Follow these steps:
Sand the plywood: Use coarse-grit sandpaper to remove any rough spots, blemishes, or raised wood grain. This will help the paint adhere better. After sanding, use a damp cloth to wipe away dust and debris.
Fill holes and dents: Use a wood filler to fill any holes, dents, or cracks in the plywood surface, including the plywood edges. This will help in covering, sealing, and smoothing the edges. Allow the filler to dry completely before proceeding.
Sand again: Once the wood filler is dry, sand the filled areas with fine-grit sandpaper until they’re smooth and level with the surrounding surface. Wipe away any dust or debris.
Priming the Plywood Surface
Priming is an essential step that should never be skipped when painting plywood. A good primer will help the topcoat of paint adhere better, resulting in a smoother and more durable finish.
Choose the right primer: For most plywood projects, use an oil-based or water-based primer specifically designed for wood surfaces.
Apply the primer: Use a brush or roller to apply an even coat of primer over the entire surface of the plywood, ensuring complete coverage. Allow the primer to dry completely according to the manufacturer’s instructions.
Painting the Primed Plywood
Once the primer is dry, you’re ready to start painting. Here’s how:
Choose your paint: Select a high-quality paint suitable for wood surfaces, such as acrylic or oil-based paint. Consider the intended use of your project when choosing the paint type to ensure a durable and smooth paint job. Use a paint sprayer for large areas to achieve a professional finish.
Apply the first coat: Using a brush, roller, or spray paint, apply the first coat of paint evenly over the primed surface, working in the direction of the wood grain. Allow the first coat to dry completely.
Sand and clean: If necessary, lightly sand the first coat with fine-grit sandpaper to smooth out any brush strokes or imperfections. Wipe away any dust before proceeding.
Apply additional coats: For better coverage and a smoother finish, apply a second or third coat of paint, allowing each coat to dry completely between applications. A smooth and durable painted surface is essential for both the appearance and longevity of your project.
Tips For Painting Plywood
To achieve professional-looking results on painting plywood, keep these tips and tricks in mind:
Use painter’s tape: Apply painter’s tape along edges or areas you want to keep paint-free for clean lines or patterns.
Thin the paint: If the paint is too thick, thin it slightly with the appropriate medium (water for water-based paints, mineral spirits for oil-based) for smoother application.
Apply a topcoat: Protect your painted plywood surface by applying a clear topcoat, such as polyurethane or varnish, for added durability and a beautiful finish.
Ventilate properly: Always work in a well-ventilated area when painting, and follow all safety precautions on the product labels.
With these steps and techniques, you can transform ordinary plywood into stunning furniture from plywood or any other DIY project you can imagine. Embrace your creativity, and don’t be afraid to experiment with colours, patterns, or finishes to create truly unique and personalized pieces for your home
Whether you’re a seasoned DIYer or just starting, painting plywood is a cost-effective and rewarding way to explore your passion for crafting and home improvement. So, gather your materials, roll up your sleeves, and let your imagination run wild!
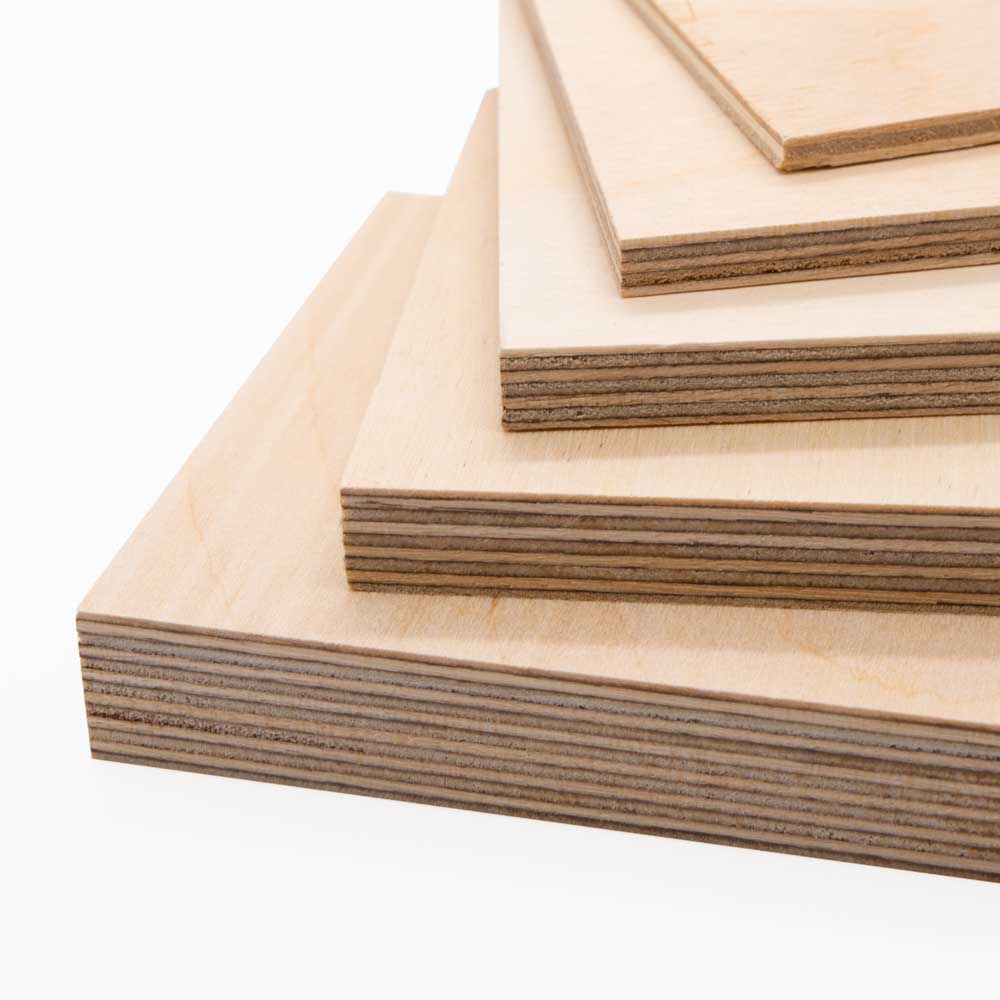
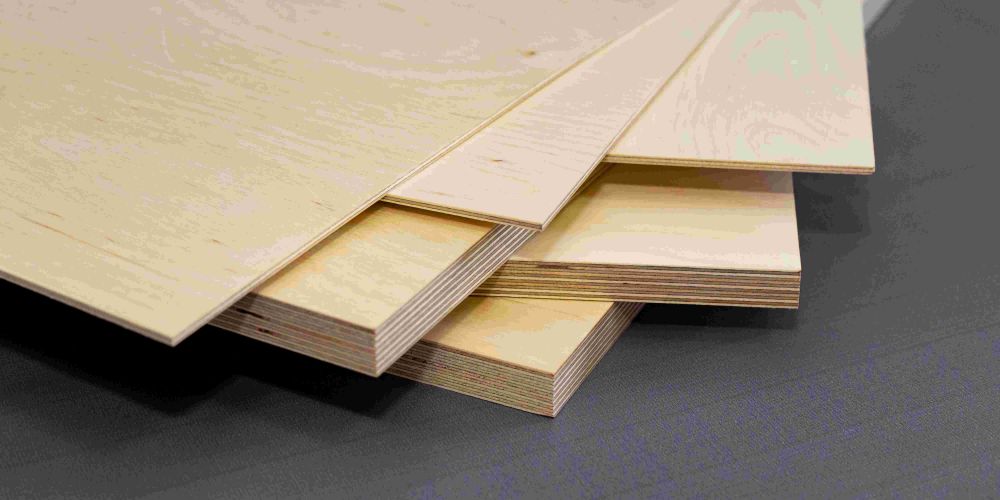
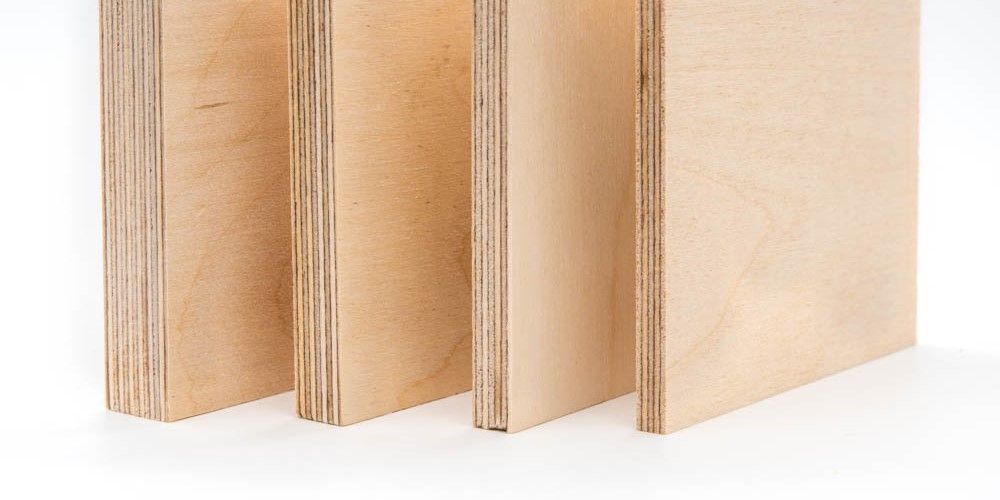
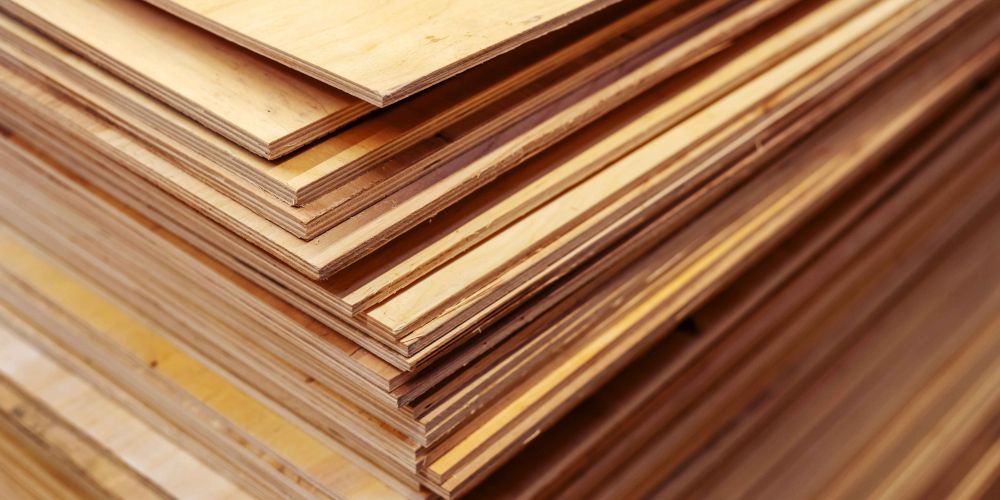
Plywood Sheets
Plywood sheets are a versatile, hardwearing, and inexpensive material great for a range of applications. We can cut these sheets to size for your project.
My order for a length of veneered board not easily purchased anywhere else, was delivered swiftly and well packaged.
Mike L.
Mr Michael Lacey,
2 hours ago
Verified
Order came in the time quoted
Order came in the time quoted. Packaged really well and cut to exact size I needed.
Will use again in the future and highly recommend.
Carl Slevin,
3 hours ago
Verified
Well finished product as described
Well finished product as described
Arrived in good time
Packaging could be more eco friendly
A Ahern,
4 hours ago
Verified
We received exactly what we ordered and…
We received exactly what we ordered and very good aftercare x
June Oswald,
4 hours ago
Verified
Excellent product
Quick delivery, excellent product and well packaged.
David,
5 hours ago
Verified
I was most impressed.
I ordered three acrylic panels to replace some glass panes for my greenhouse that had broken. They arrived in good time, beautifully packaged and fit perfectly. Many thanks.
Gabrielle Smith,
6 hours ago
Verified
Great Service.
Arrived as stated. Well packaged preventing any damage.
Philip Crosthwaite,
7 hours ago
Verified
Great service
Great service, good quality.
Jason Taylor,
13 hours ago
Verified
Even though was a small order
Even though was a small order, it was dealt with very quickly and informed of each stage. Great product so didn't hesitate to order from them again.
Robert Cowey,
18 hours ago
Verified
Exactly what I ordered
Exactly what I ordered, quick delivery very happy thank you 😊
Louise Wood,
19 hours ago
Verified
Needed 9mm marine ply to replace 75hp…
Needed 9mm marine ply to replace 75hp outboard stern plate cut to size was so handy and a better edge
Easy to use shape and size order process
Margaret Moore,
19 hours ago
Verified
Highly recommend 'CutMy'
Highly recommend 'CutMy' as I found the ordering process super easy and clear. My order arrived well packaged resulting in no damage or scratches. Very pleased with my order.
Annette Jackson,
21 hours ago
Verified
Replacement greenhouse window
Replacement greenhouse window. I was never going to get a 2ft x 5ft x 3mm piece of glass home in one piece. looks better than the original glass. A bit pricy thought.
Mr Stuart Franklin,
21 hours ago
Verified
I would use them again
A great product at a reasonable price. Plus many other companies I looked at wanted huge sums to deliver
A Scout Leader,
22 hours ago
Verified
Great customer service
Great customer service, and thank Ricardo
EHSUN,
23 hours ago
Verified
Easy & Fast service
Easy & Fast service
Mark Johns,
1 day ago
Verified
Perfect cutting
Having ordered from a glass cutting company previously who got quite a few pane sizes wrong I was a bit dubious doing it all online. However, Cut My was easy to order from, even the awkward triangles I needed! And every pane was exactly what I asked for and every one slotted into the greenhouse frame perfectly, my customer and I are very pleased. Also some weird technical glitch added an old postcode to my delivery address so initially it was being delivered somewhere 3 hours away! But contacting the courier resolved the situation immediately and the panes arrived only a day late and still in perfect condition. A bit expensive but then everything is nowadays and as the cut and delivery were 100% I'm happy, thank you.
Charlotte,
1 day ago
Verified
Excellent service
Excellent service. I had made an error in measurements. Because they seemed wrong for my purposes they contacted me to confirm. I was then able to correct the order which they delivered precisely as required and on time.
Highly recommended.
Mr Ewen Cameron,
1 day ago
Verified
Product as described. Had to wait in for delivery
The plywood was cut perfectly and arrived on time. The only drawback was that I had to wait at home for the delivery and the delivery window was 8 hours (fortunately it arrived early).
William,
1 day ago
Verified
they really do "cut my"
Got the wood I ordered in the shapes I wanted earlier than promised
Ellen,
1 day ago
Subscribe to our email newsletter
Sign up here for our occasional email newsletter with new products, design ideas and discounts across our huge and growing range of products. (You can unsubscribe at any time of course.)