The store will not work correctly when cookies are disabled.
Cookie Preferences
We use cookies and similar technologies to enhance your experience and ensure smooth order processing and to improve our website by analysing visitor behaviour or personalise content and show relevant offers.
Essential cookies are required for the site to function and cannot be disabled. By clicking "Accept" you agree to all cookies, including analytics and marketing. To decline non-essential cookies, click "Decline".
Transform Your Home with Creative Alcove Shelf Ideas
Transform Your Home with Creative Alcove Shelf Ideas
About author
Chloe Parke
When not working with the digital team at Cut My, Chloe is a Professional Organiser with over 5 years experience transforming homes across Sussex. She shares her passion for storage and organisation on the Cut My Blog.
Alcove shelves are a fantastic way to add storage and character to any room. Often found in living rooms, bedrooms, and hallways, these shelves are not only practical but also offer a unique way to display your personal style.
For DIY enthusiasts in the UK, creating alcove shelves can be a rewarding project that enhances your home's aesthetic and functionality. In this article, we’ll explore the best alcove shelving ideas, offering tips and inspiration to help you get started on your own DIY journey.
What Are Alcove Shelves?
Alcove shelves are custom shelving units built into recessed spaces or nooks in a room. These spaces, often flanking the chimney breast or located between two structural walls, provide a perfect opportunity to maximise storage and display areas without encroaching on the room's overall footprint.
The beauty of alcove shelves lies in their ability to blend seamlessly into the architecture of a room while offering practical storage solutions. Creating your own bespoke alcove shelving will result in much-needed extra storage space instead of unused dead space.
Common Places for Alcove Shelves
Alcove shelves can be found in various parts of a home, such as:
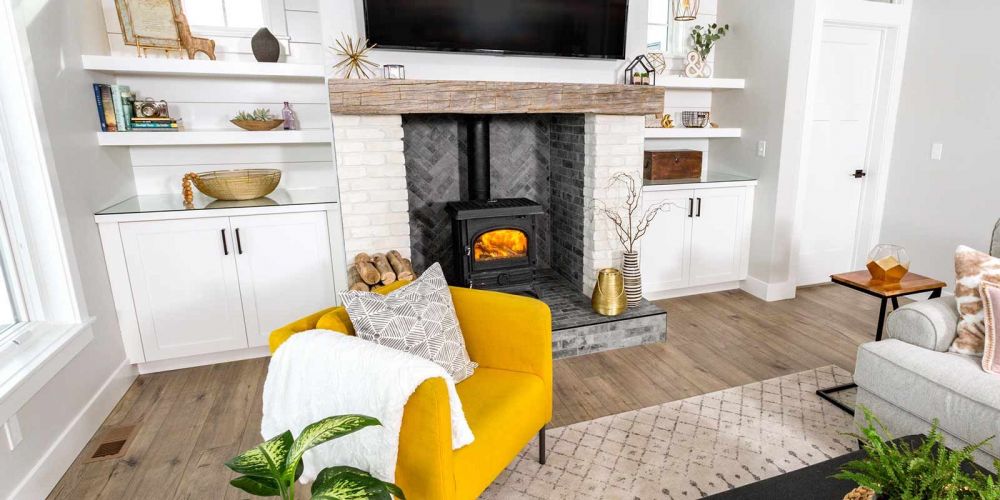
Living Rooms: Alcove shelves in the lounge often occur on either side of the fireplace, creating symmetry and providing ample space for books, family photos, and decorative items. They can also serve as media units, housing TVs, gaming consoles, and sound systems, helping to keep the area tidy and organised. Living room alcove shelving ideas are particularly popular because they allow homeowners to make the most of often underutilised space.
Bedrooms: In bedrooms, alcove shelving is perfect for creating additional storage for books, accessories, and personal items. The shelves can be built into spaces beside wardrobes or bed frames, offering a convenient place to keep nighttime essentials within easy reach.Adding shelves in alcoves can transform a bedroom, making it both more functional and stylish.Adding a dressing table beneath the shelves in one alcove would make a useful addition to the bedroom. For children's rooms, you could add seating beneath the shelves to create a cosy atmosphere with a reading corner.
Hallways: Hallways can often be narrow and challenging to decorate, but alcove shelves provide a solution that doesn’t encroach on valuable floor space. Shelving in alcove ideas for hallways can include small display areas for decorative items, as well as practical storage for keys, mail, and other everyday items.
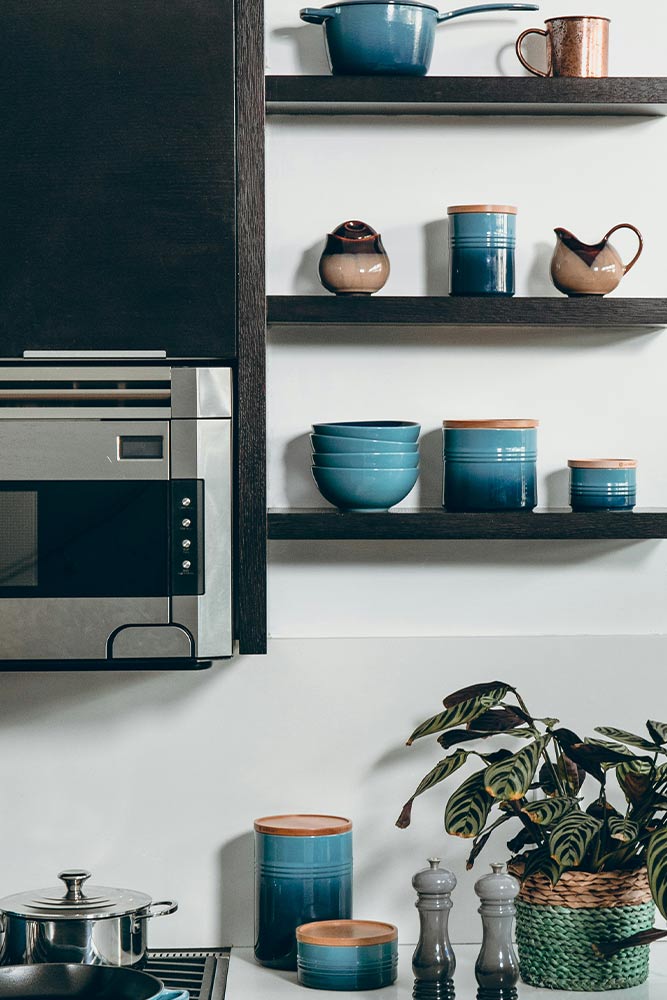
Kitchens: In the kitchen, alcove shelves can be used to store cookbooks, display kitchenware, or even act as an additional pantry space. Incorporating shelves into alcoves can help maximise storage while keeping the space organised and clutter-free.
Materials Used for Alcove Shelving
When planning alcove shelves, consider materials that suit both your aesthetic and practical needs. Common materials include:
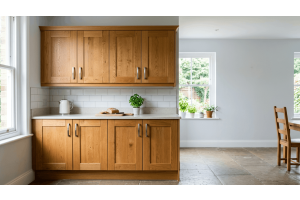
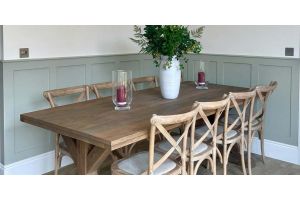
Wood: Versatile and available in various finishes, wood is a popular choice for a warm, traditional look. Oak, pine, and walnut are common choices, each offering different grains and hues that can complement a range of interior styles. For those looking to achieve a rustic charm, reclaimed wood can add character and a sense of history to the shelves.
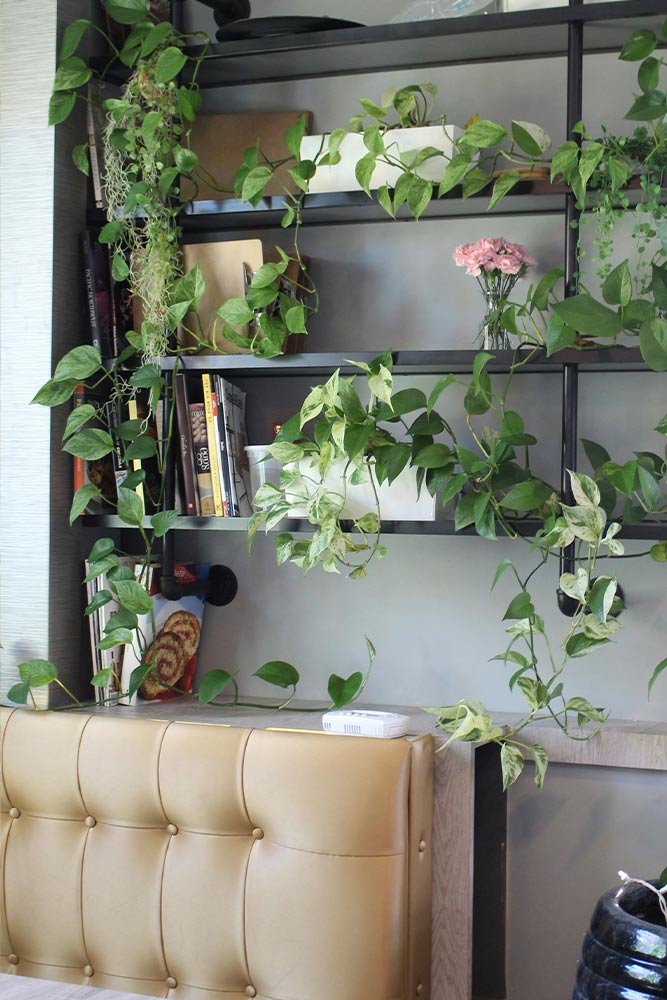
Metal: Offers a sleek, modern appearance and is highly durable. Metal shelves can be used to create an industrial look, especially when paired with exposed brick or concrete walls. They are also easy to maintain and can support a significant amount of weight, making them ideal for heavier items.
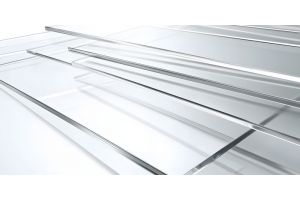
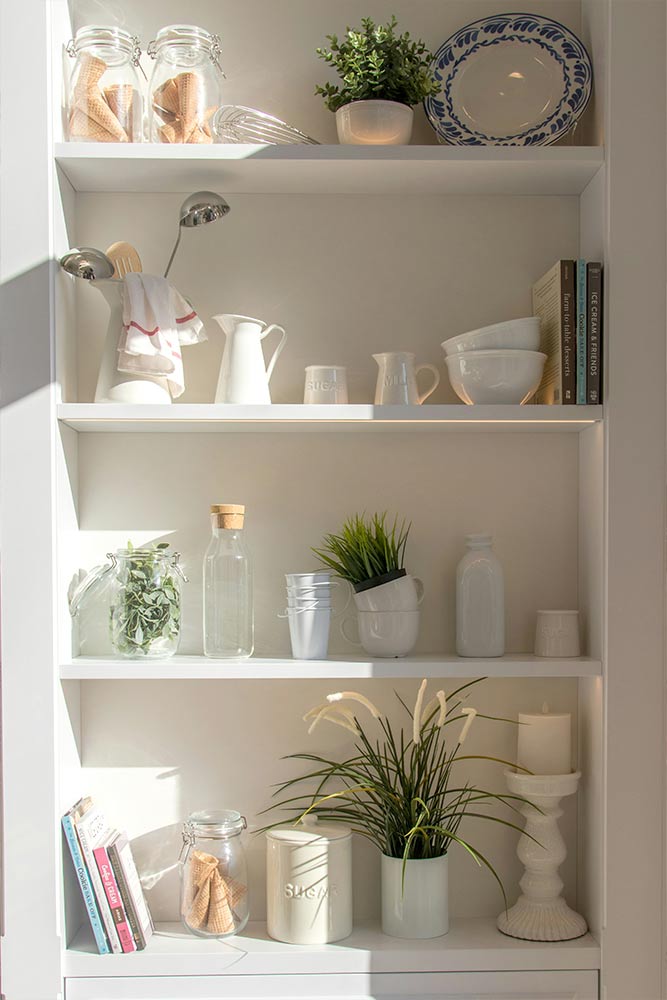
Glass: Ideal for a minimalist style, providing a light and airy feel to the room. Glass shelves can help a space feel larger and more open, as they don’t block light or create visual clutter. They are perfect for displaying delicate items and can be combined with metal or wooden brackets for added support.
Planning Your Alcove Shelves
Assessing the Space
Before starting your alcove shelving project, take precise measurements of the space. This will help you determine the size and number of shelves you can fit into the alcove. Consider the depth, height, and width of the alcove to ensure the shelves fit perfectly.
It’s also important to assess the structural integrity of the space, especially if you plan to store heavy items. Checking for studs and understanding the wall composition will help you choose the right type of support and fixings.
Choosing the Right Materials
Select materials that match your design vision and the function of the shelves. For example:
Living room alcove shelving ideas might lean towards wood for a cosy feel. A combination of open shelving and closed cupboards can provide both display space and hidden storage. Adding lighting to the shelves can also enhance the room's ambience and highlight decorative items.
Alcove storage ideas in a kitchen could benefit from glass or melamine shelves for easy cleaning and durability. Using these materials can help maintain a clean and contemporary look, and glass shelves can be particularly effective in displaying colourful kitchenware or spices.
Tools and Supplies Needed
Depending on the complexity of your project, you’ll need various tools and supplies. Basic tools include:
Measuring tape: Essential for taking accurate measurements of the alcove space.
Spirit level: Ensures your shelves are installed straight and level.
Saw (hand or electric): Necessary for cutting materials to size.
Drill and screws: Used to attach brackets or support strips to the walls.
Sandpaper: For smoothing rough edges on wooden shelves.
Paint or stain: To finish wood and protect it from wear and tear.
For more complex projects like a built-in alcove shelving unit you might need additional tools like a jigsaw, router, and clamps.A jigsaw is useful for cutting intricate shapes or fitting shelves around irregular spaces, while a router can help create decorative edges on wooden shelves. Clamps are essential for holding pieces together while the glue dries or when assembling more complex structures.
Don't panic if you don't have the necessary tools to create your alcove shelving as there are companies like Cut My who can do all the hard work for you and provide bespoke shelving that you simply install in your alcove space.
Design Ideas for Alcove Shelves
Rustic Charm
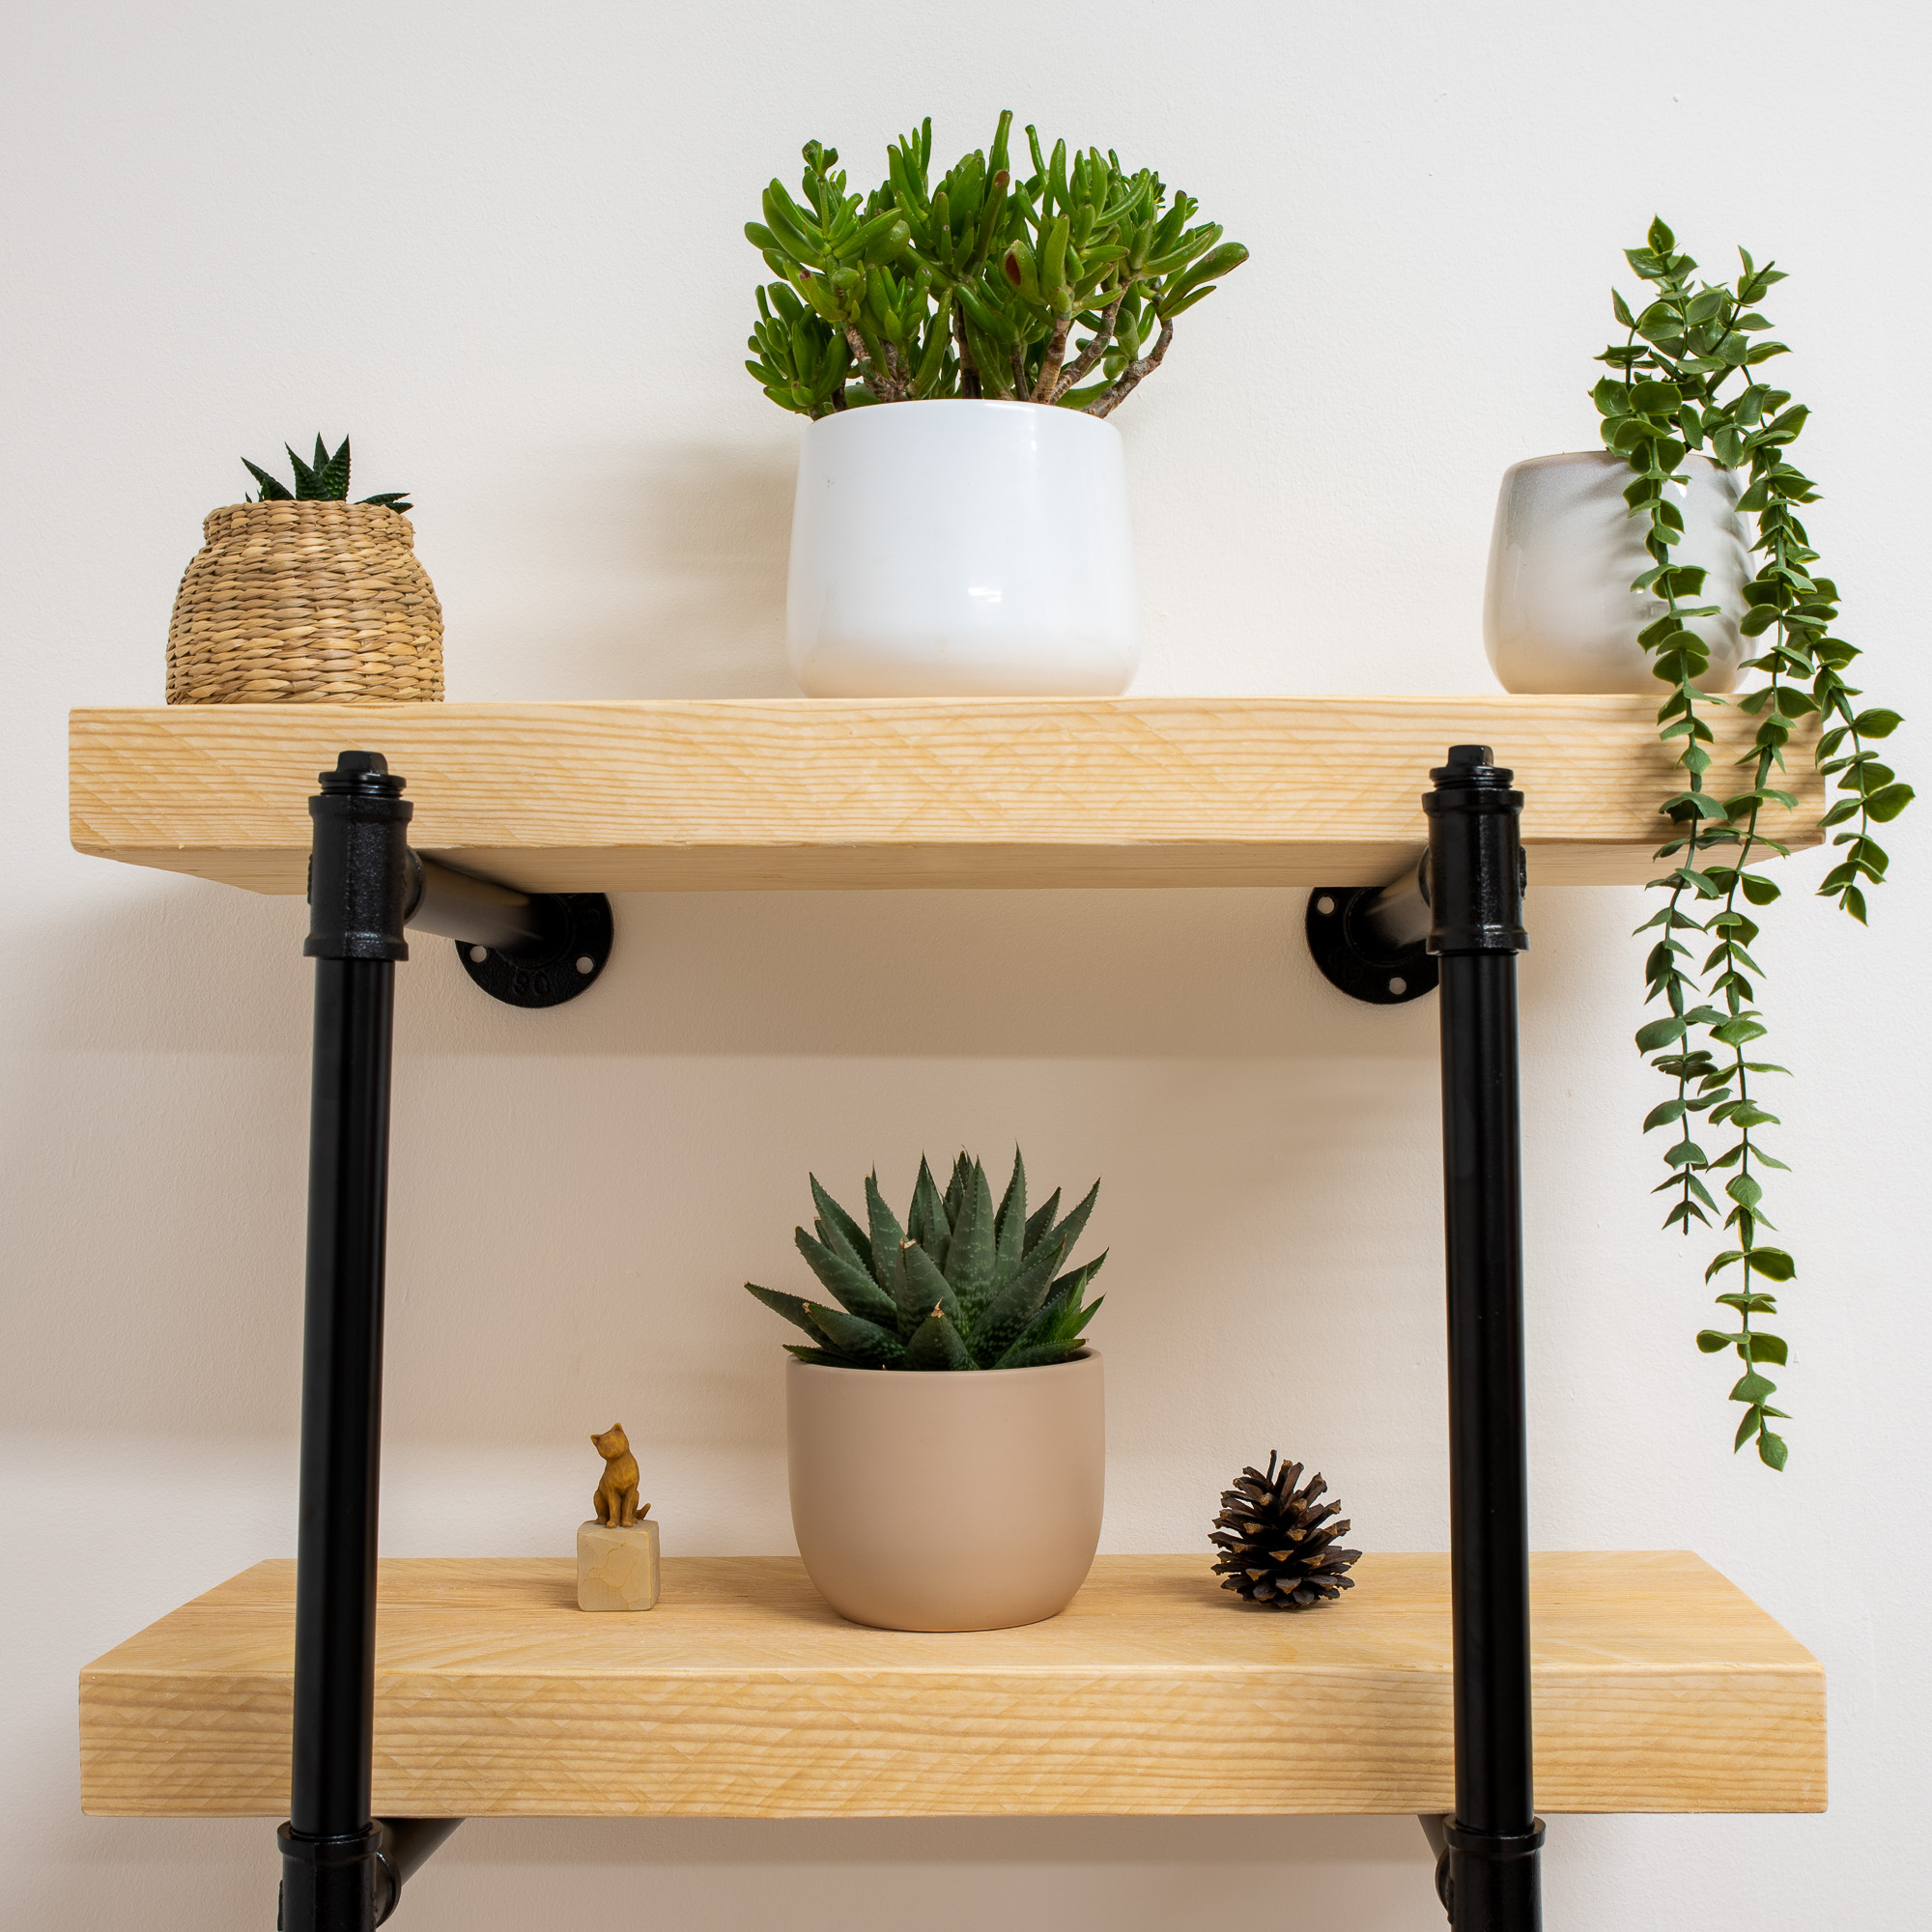
For those who love a rustic look, reclaimed wood is an excellent choice. It adds character and a sense of history to your space. Combine wood with metal brackets for an industrial twist, and consider adding natural elements like plants and stone decorations.
Rustic charm can be achieved by embracing imperfections and the natural beauty of materials. Exposed grains, knots, and weathered finishes contribute to the overall aesthetic, making each shelf unique.
Modern Minimalism
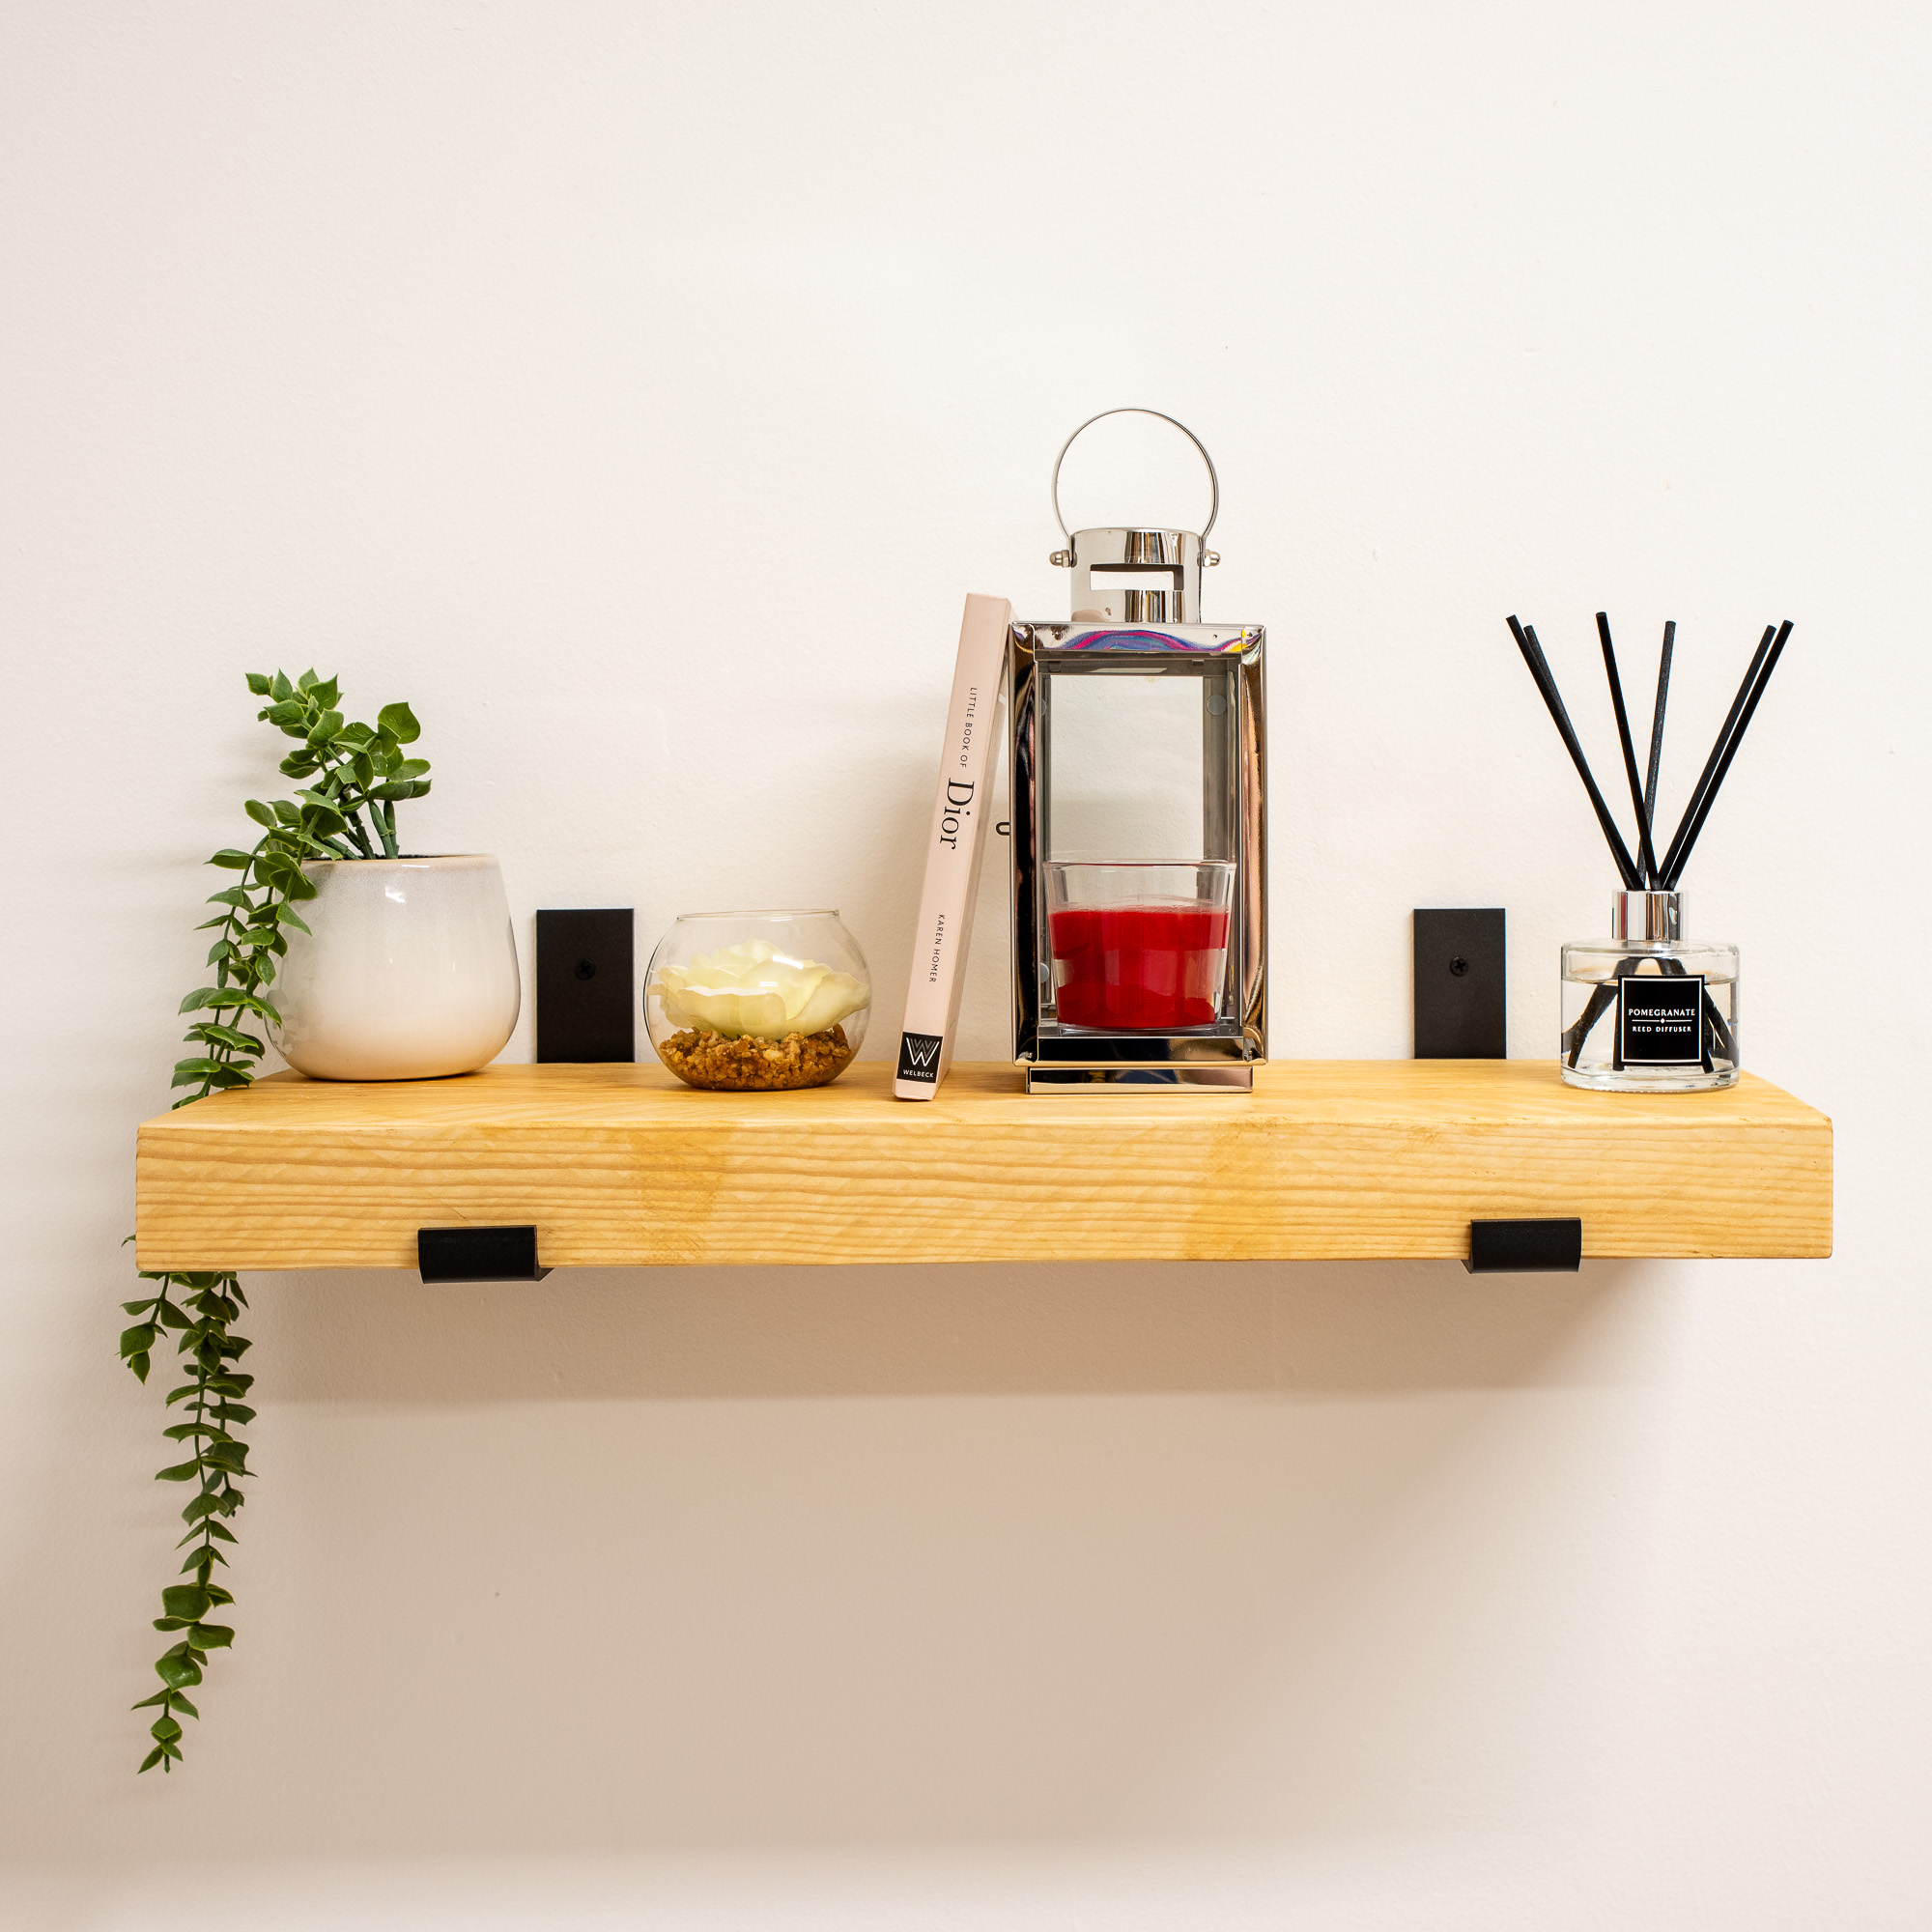
If you prefer a clean, contemporary style, opt for sleek materials and simple lines. Use neutral colours like white, black, or grey to keep the look minimalistic. Floating shelves without visible brackets can enhance the modern feel.
Modern minimalism focuses on functionality and simplicity, with a “less is more” approach. Avoiding clutter and using a limited colour palette can help create a calm and organised space.
Eclectic Mix
For an eclectic approach, mix different materials and styles. Combine wood, metal, and glass to create a unique look. Don’t be afraid to use bold colours and patterns. This style allows for a lot of personal expression and creativity.
An eclectic mix embraces diversity and juxtaposition, making it possible to incorporate various influences and personal touches into the design. The key is to balance the elements to avoid overwhelming the space.
Classic Elegance
For a timeless look, traditional woodwork and finishes are key. Symmetry and balance in design can create a classic, elegant feel. Use rich wood tones and add moulding or trim to enhance the sophisticated look.
Classic elegance is about refined details and high-quality craftsmanship. Choosing materials and designs that stand the test of time ensures that your alcove shelves will remain stylish and functional for years to come.
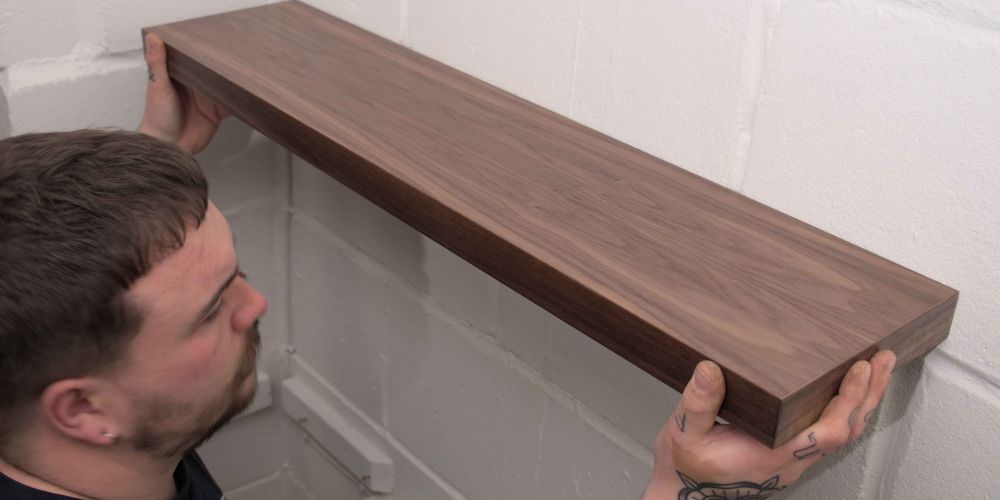
Oak Floating Shelves
Veneered with real hardwood oak. Made to measure floating shelves designed to fit any space perfectly.
Measure and Mark: Measure your alcove and mark where the shelves will go. Use a spirit level to ensure the marks are level.
Cut Shelves: Cut wood to size based on your measurements. Sand the edges to smooth any roughness.
Install Brackets: Attach brackets to the wall using a drill and screws. Ensure they are level and evenly spaced.
Attach Shelves: Place the shelves on the brackets and secure them. Double-check that everything is level and secure.
Required Materials and Tools:
Wooden planks
Brackets
Drill
Screws
Saw
Floating shelves are a great starting point for beginners as they require minimal materials and tools. The simplicity of the design also allows for quick installation, making it a rewarding project that can be completed in a single day.
Intermediate Level: Built-In Alcove Shelves with Brackets
Step-by-Step Guide:
Measure and Cut: Measure the alcove and cut your wood accordingly. Include space for support strips on the sides and back of the alcove.
Install Support Strips: Attach support strips to the sides and back of the alcove. Ensure they are level and securely fastened to the wall.
Install Shelves: Place the shelves on the support strips and secure them with screws or brackets. Check that each shelf is level.
Finish: Sand and paint or stain the shelves for a polished look. Allow the finish to dry completely before placing items on the shelves.
Required Materials and Tools:
Wood for shelves and support strips
Screws
Drill
Saw
Paint or stain
Built-in shelves offer more stability and can support heavier items compared to floating shelves. This project requires more precise measurements and cutting, making it a suitable challenge for those with some DIY experience.
Advanced Level: Custom Fitted Alcove Shelves with Cabinetry
Step-by-Step Guide:
Design and Measure: Plan your design, including both shelves and cabinets. Sketch a detailed plan and take accurate measurements of the alcove, considering the placement of both shelves and cabinet doors.
Build the Frame: Construct the frame for the shelves and cabinets using sturdy wood. Use a saw to cut the pieces to size and a drill to assemble them. Ensure the frame is square and fits snugly into the alcove.
Install Frame: Secure the frame into the alcove using screws and brackets. Use a spirit level to make sure the frame is perfectly level and plumb.
Attach Shelves and Doors: Install the shelves within the frame, securing them with screws or brackets as needed. Attach the cabinet doors using hinges, ensuring they align properly and open smoothly.
Finish: Sand, paint, or stain the shelves and cabinets as desired. Apply multiple coats if necessary, allowing each coat to dry thoroughly.
Required Materials and Tools:
Wood for frame, shelves, and cabinets
Hinges for cabinet doors
Screws
Drill
Saw
Clamps
Paint or stain
Creating custom-fitted alcove shelves with cabinetry is an advanced project that requires a higher level of skill and more tools. This project offers the most customisation and functionality, combining open shelving with hidden storage solutions. It’s ideal for DIY enthusiasts looking for a significant challenge that results in a professional-grade finish.
DIY Made Easy, No Fuss, No Mess!
Everything cut to size to save you time and effort.
Shop with us for easy online ordering, fast delivery and low prices.
To ensure your alcove shelves are safe and sturdy:
Use Strong Brackets or Support Strips: Choose brackets or support strips that can handle the weight of the items you plan to store. Heavy-duty brackets are ideal for heavier items, while lighter shelves can use simpler supports.
Properly Anchor Shelves to the Wall: Ensure shelves are anchored to studs or use appropriate wall anchors if attaching to drywall. This is crucial for preventing shelves from pulling away from the wall under the weight of stored items.
Distribute Weight Evenly: Avoid placing all heavy items on one shelf. Distribute the weight evenly across multiple shelves to reduce the risk of sagging or collapsing.
Maximising Storage Space
For optimal storage:
Use Adjustable Shelves: Adjustable shelves like a twin slot system that allows you to customise the spacing to accommodate different item sizes. This flexibility is particularly useful in dynamic environments like kitchens or living rooms.
Incorporate Cabinets or Drawers: Adding cabinets or drawers beneath shelves provides hidden storage for items you don’t want on display. This combination of open and closed storage keeps spaces tidy and organised.
Add Hooks or Pegs: Consider adding hooks or pegs underneath the shelves for hanging items such as keys, bags, or kitchen utensils. This can enhance functionality and keep frequently used items within easy reach.
Styling and Accessorising
To style your shelves:
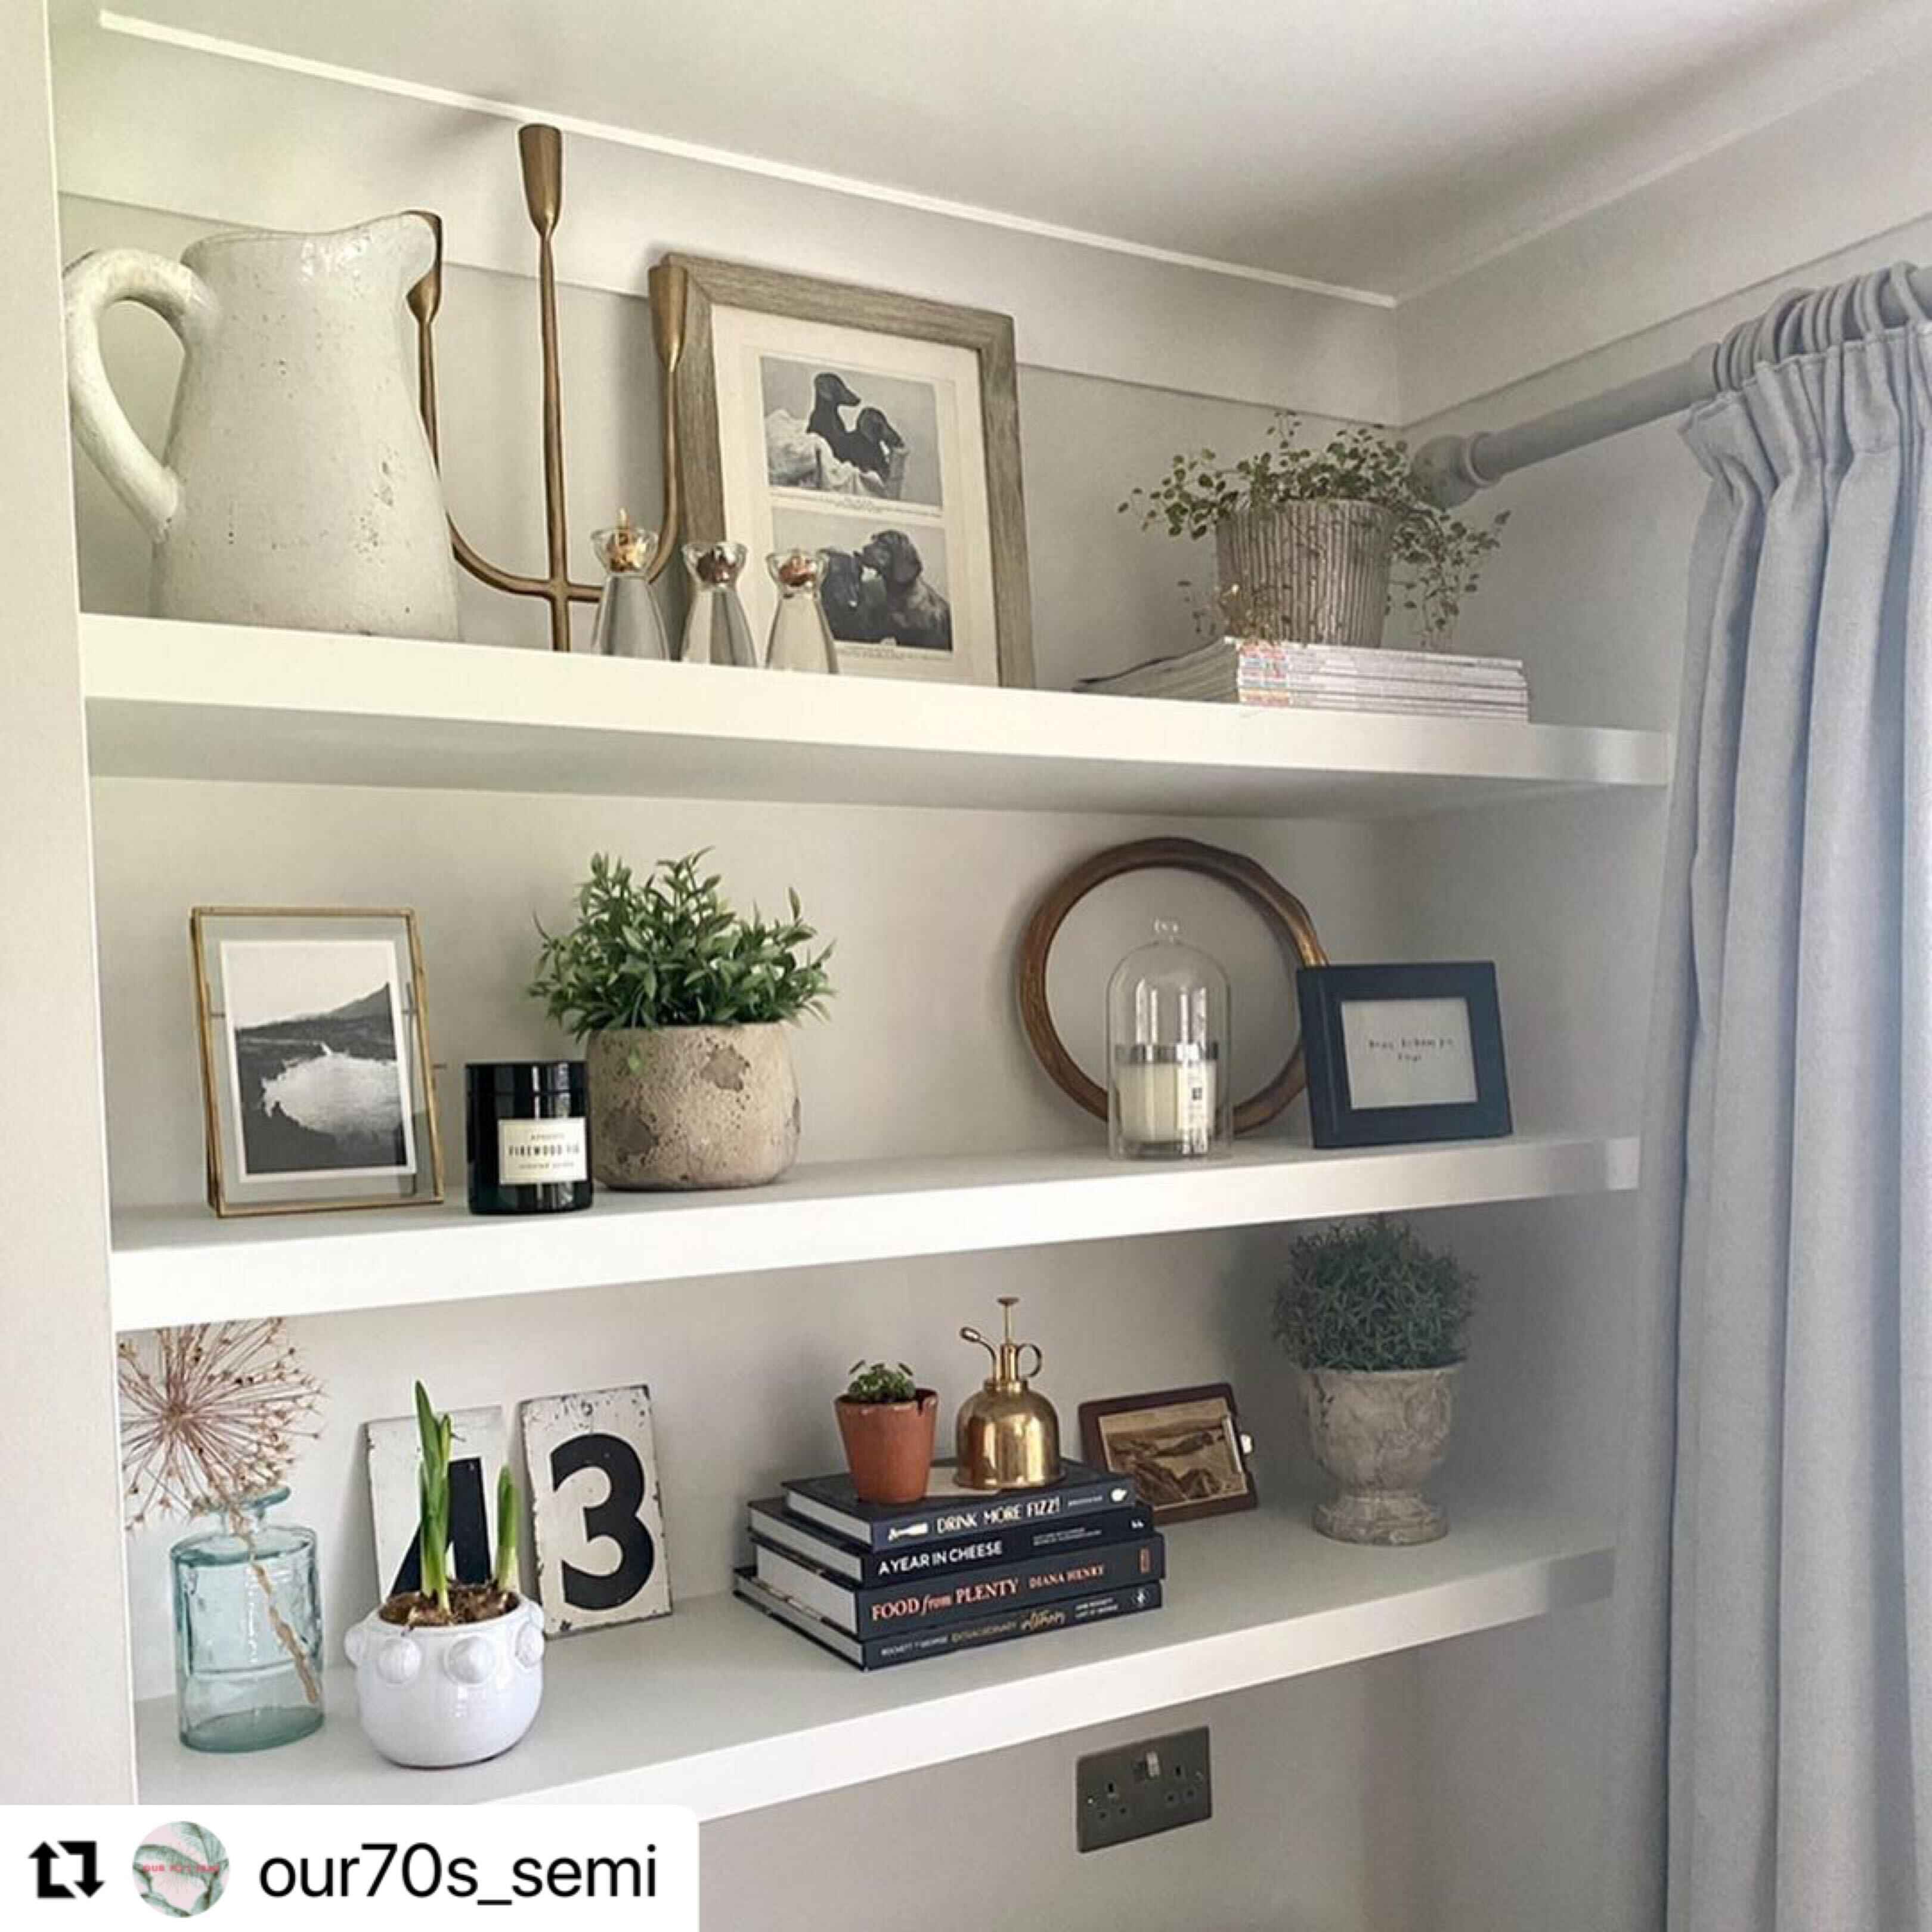
Mix Decorative and Functional Items: Combine practical storage with decorative pieces to create a balanced and visually appealing display. Books, plants, and personal mementoes can be arranged alongside storage baskets and boxes.
Group Items in Odd Numbers: Displaying items in odd numbers, such as groups of three or five, creates a more dynamic and interesting look compared to even-numbered groupings.
Vary Heights and Sizes: Incorporate items of different heights and sizes to add visual interest and prevent the display from looking monotonous. Taller items at the back and shorter items at the front can create depth.
Style by Colour: Organising and styling your shelves by colour can create a cohesive and visually appealing display. Arrange books, decor, and other items in a gradient or colour block pattern to add harmony and order to your shelves. For instance, you can start with darker tones at the bottom and gradually move to lighter shades at the top, or create distinct sections for each colour family. This method not only looks aesthetically pleasing but also makes it easier to locate items based on their colour.
Maintenance and Care Tips
Keep your alcove shelves looking their best by:
Regularly Dusting and Cleaning: Dust shelves frequently to prevent buildup, especially if displaying delicate items. Use a soft cloth to avoid scratching surfaces.
Using Coasters or Liners: Protect wooden shelves from spills and stains by using coasters for drinks and liners for storage baskets or boxes.
Reapplying Finish as Needed: Wood shelves may require periodic reapplication of paint or stain to maintain their appearance and protect the surface from wear and tear.
Inspirational Examples
Real-Life Examples of Alcove Shelf Projects
Draw inspiration from real DIY projects:
Living Room Alcoves: A cosy living room can feature built-in shelves around a fireplace, creating a central focal point and providing ample storage for books and decorative items. Custom lighting can highlight favourite pieces and add ambience. Log storage beneath the shelves can give the alcove a Hygge, Scandi style feel and look, an ever-growing trend in interior design.
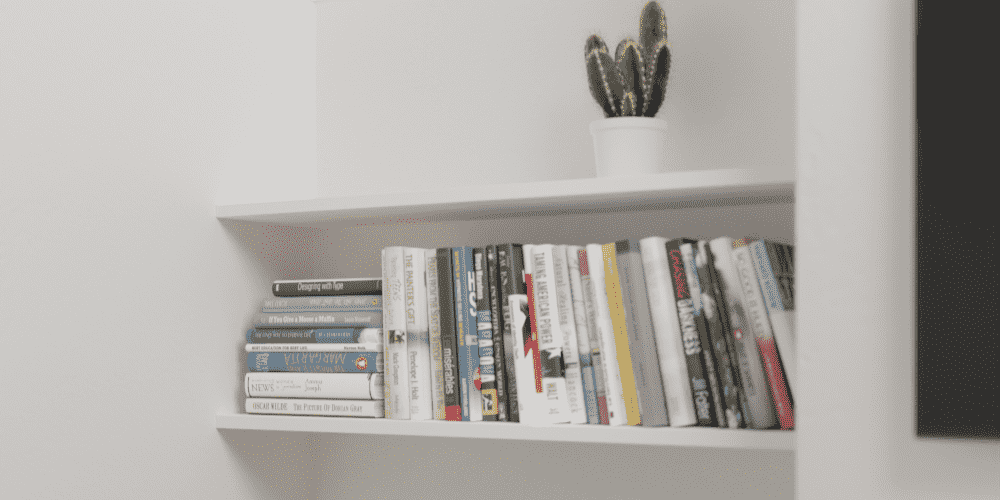
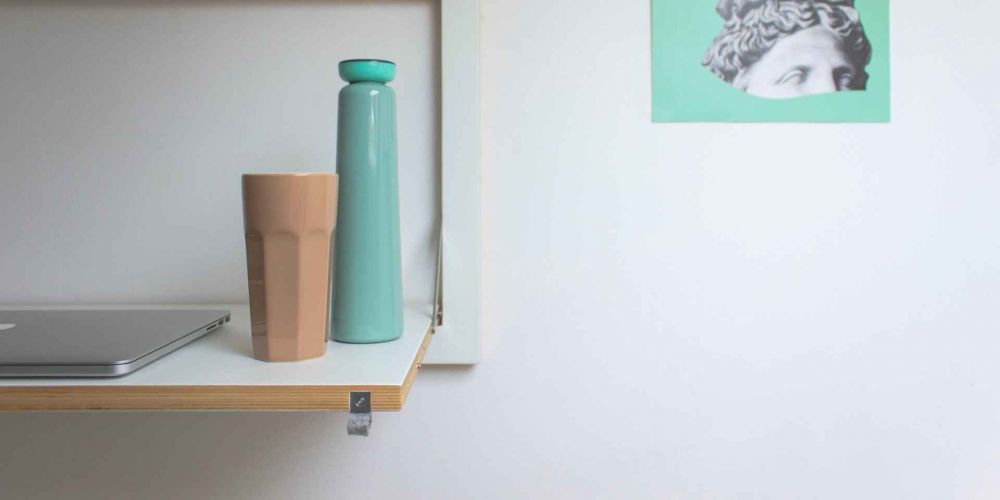
Bedroom Alcove Bookshelf Ideas: A serene bedroom with floating shelves beside the bed can offer storage for nighttime essentials like books, alarm clocks, and reading lamps. Personal touches like framed photos and small plants can make the space feel more inviting.
Kitchen Alcove Cupboard Ideas: A functional kitchen can benefit from alcove shelves combined with cupboards for storing cookbooks, spices, and kitchenware. Glass-front cabinets can showcase colourful dishes, while closed cabinets keep less attractive items out of sight.
Testimonials from DIY Enthusiasts
"Creating my own alcove shelves transformed my living room. It was a fun and fulfilling project!"– Jane, London.
Jane used reclaimed wood to create rustic shelves that perfectly complemented her home's vintage decor.
"The built-in alcove shelving we installed in our hallway added much-needed storage space and looks amazing." – Mark, Manchester.
Mark combined open shelves with cabinets to keep his hallway organised and clutter-free, providing both display and hidden storage.
Before and After Photos
Seeing the transformation can be incredibly motivating. Look for before and after photos to visualise how alcove shelves can dramatically change a space. Try an image search for terms like these:
A cluttered living room corner transformed into a stylish and functional media unit.
An empty bedroom wall becomes a beautiful and practical storage area.
A bare kitchen nook turned into a vibrant and organised pantry space.
Conclusion
Alcove shelves offer a versatile and stylish solution for storage and display in any home. Whether you prefer a rustic, modern, eclectic, or classic look, there are endless possibilities to explore. By following the planning and design tips in this article, you can embark on your own DIY alcove shelf project with confidence.
Alcove shelves not only enhance the aesthetic appeal of a room but also provide practical storage solutions that make the most of often overlooked spaces. With a bit of creativity and effort, you can transform any alcove into a beautiful and functional part of your home.
Wow, love the finished outcome. Very fast shipping, loved how the boards were packaged, so no fear of damage. So so easy to do, love that it came with the brackets. I painted first, waited for them to dry, then popped them up. I thought the price was really good, no messing around having to cut them myself. Ordered 3 full size and 1 half size as my wall is big. Can't praise this company enough.
Well done!!!
Trudi,
1 hour ago
Jame was brilliant
Jame was brilliant. I made a mistake on my order, nit only did he spot it quickly he came back tk.me quick and we resolved the issue super quick. Very helpful, very supportive and patient. Great service and great price.
Mr Pugh,
4 hours ago
Verified
Straightforward to use online.
Straightforward to use online.
Fiona Davies,
5 hours ago
Verified
Great customer service
Great customer service. Product arrived on time and as ordered. Reasonable price for what we wanted. Would use again if needed.
Andy Tordoff,
5 hours ago
Verified
Excellent!
I found the website easy and very helpful to navigate to what I wanted. The plywood I ordered (1160 x 1460) was well packaged and delivered as stated. Happy with the service and product.
RC,
5 hours ago
Verified
What a great way to do a project!
What a great way to do a project and make life easier. All parts delivered cut exactly to size, pre-drilled, finished to match existing framework. Within a very short time I had easily completed a professional-looking project and saved myself hours.
Would definitely use again!
chris parker,
6 hours ago
Verified
We have ordered lots of times from this…
We have ordered lots of times from this company and every piece has been spot on their goods come well wrapped and very quick we bought a lot of Perspex and all cut to size would highly recommend
maz stoner,
7 hours ago
Verified
Simple but very effective!
I can’t believe how easy you made the process. From the website, to the fool proof ordering section, right the way through to the exact measured cuts you sent. Brilliant. I am already contemplating my next job with your help.
Stuart,
17 hours ago
Verified
Fab service
Fab service. Takes all the difficult calculations out of it and plots out how the paneling will look. Highly recommend. Fast delivery
Tienne,
23 hours ago
Verified
Very quick turnaround
Very quick turnaround, well packaged. Cut to exact dimensions. Good quality, better than you will find in big hardware stores. Would recommend.
Darren Bell,
1 day ago
Verified
Excellent service quickly delivered…
Excellent service quickly delivered would definitely recommend
Mrs Helen Foskett,
1 day ago
Verified
I ordered two sample pieces in white
I ordered two sample pieces in white. Although I decided not to order, this company are very efficient & sent these samples within a couple of days of me ordering. Would definitely recommend them to anyone.
Alison,
1 day ago
Verified
Non standard size shelves cut to size…
I needed some non standard size shelves cut to size, they fit perfectly and the price was also good. I looked at others for cut to size and the price and delivery was much more expensive
Michelle ,
1 day ago
Verified
Fast delivery and top quality.
Fast delivery and top quality.
Mr B Bohea,
1 day ago
Verified
All went to plan.
All went to plan.
Lorna Griffiths,
1 day ago
Verified
Extent service
Extent service
Mark hallam,
1 day ago
Verified
Excellent quality
Excellent quality, great customer and delivered on time
Emma Bird,
1 day ago
Thrilled with my order
Absolutely excellent service. Professional. High standard . Great quality . Brilliant would highly recommend this company.
jane haddock,
1 day ago
Verified
Delivered swiftly and met requirements
Delivered swiftly and met requirements
Brendan ,
1 day ago
Verified
Spectacular panelled wall…
Item arrived on time and very well packaged. Very easy to use and our new panelled wall looks spectacular.
MRS VICTORIA VICKERMAN,
1 day ago
Subscribe to our email newsletter
Sign up here for our occasional email newsletter with new products, design ideas and discounts across our huge and growing range of products. (You can unsubscribe at any time of course.)